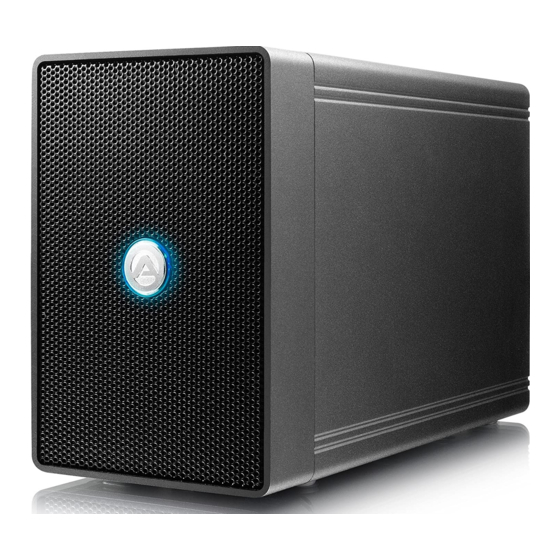
Akitio NT2 U31C Manuel de configuration - Page 6
Parcourez en ligne ou téléchargez le pdf Manuel de configuration pour {nom_de_la_catégorie} Akitio NT2 U31C. Akitio NT2 U31C 9 pages.

Step 5
RAID Mode - Initial Setup
1) Turn on the power but do not connect the USB cable yet.
2) Press and hold the "Set RAID" button for about 5 seconds until all LEDs flash once.
3) Press the button multiple times until you have selected your preferred RAID mode.
4) Press and hold the "Set RAID" button for about 5 seconds until all LEDs flash once to set the new
RAID mode.
5) Connect the USB cable to your computer and format the disk(s).
1) Active la alimentación pero no conecte todavía el cable USB.
2) Presione sin soltar el botón "Establecer RAID" durante unos 5 segundos hasta que todos los LED
parpadeen una vez.
3) Presione el botón varias veces hasta que haya seleccionado el modo RAID preferido.
4) Presione sin soltar el botón "Establecer RAID" durante unos 5 segundos hasta que todos los LED
parpadeen una vez para establecer el nuevo modo RAID.
5) Conecte el cable USB al equipo y dé formato a los discos.
1) Schalten Sie das Gerät ein, aber schließen Sie das USB-Kabel noch nicht an.
2) Halten Sie die Taste "Set RAID" für ungefähr 5 Sekunden gedrückt, bis alle LEDs einmal blinken.
3) Drücken Sie die Taste mehrmals, bis Sie Ihren bevorzugten RAID-Modus ausgewählt haben.
4) Halten Sie die Taste "Set RAID" für ungefähr 5 Sekunden gedrückt, bis alle LEDs einmal blinken, um
den neuen RAID-Modus einzustellen.
5) Verbinden Sie das USB-Kabel mit Ihrem Computer und formatieren Sie die Festplatte(n).
1) Mettez sous tension mais ne connectez pas encore le câble USB.
2) Appuyez et maintenez le bouton "Définir RAID" enfoncé pendant environ 5 secondes jusqu'à ce que
toutes les LED clignotent une fois.
3) Appuyez sur le bouton plusieurs fois jusqu'à ce que vous sélectionniez votre mode RAID préféré.
4) Appuyez et maintenez le bouton "Définir RAID" enfoncé pendant environ 5 secondes jusqu'à ce que
toutes les LED clignotent une fois pour définir le nouveau mode RAID.
5) Connectez le câble USB à votre ordinateur et formatez le(s) disque(s).
1) 打開電源 , 但先不要連接USB 。
2) 按住 "設置RAID" 按鈕約5秒 , 直到所有LED閃爍一次後放開 。
3) 按下按鈕選擇您需要的RAID模式 。
4) 按住 "設置RAID" 按鈕約5秒 , 直到所有LED閃爍一次後放開 , 完成RAID模式設定 。
5) 連接USB並初始化磁碟 。
1) 打开电源, 但先不要连接USB。
2) 按住 "设置RAID" 按钮约5秒, 直到所有LED闪烁一次后放开。
3) 按下按钮选择您需要的RAID模式。
4) 按住 "设置RAID" 按钮约5秒, 直到所有LED闪烁一次后放开, 完成RAID模式设定。
5) 连接USB并初始化磁盘。
1) 전원은 켜고 USB 케이블은 아직 연결하지 마십시오.
2) "RAID 설정" 버튼을 5초 정도 모든 LED가 한 번씩 켜질 때까지 길게 누르십시오.
3) 원하는 RAID 모드가 선택될 때까지 여러 번 버튼을 누르십시오.
4) "RAID 설정" 버튼을 5초 정도 모든 LED가 한 번씩 켜질 때까지 길게 눌러 새 RAID 모드를 설정하십시오.
5) USB 케이블을 컴퓨터에 연결하고 디스크 형식을 지정하십시오.
1) 電源をオンにして、 まだUSBケーブルを接続しないで下さい。
2) すべてのLEDが一度点滅するまで 「Set RAID」 ボタンを約5秒間押し続けて下さい。
3) ご希望のRAIDモードを選択するまで、 このボタンを何度か押して下さい。
4) 新しいRAIDモードを設定するには、 すべてのLEDが1回点滅するまで 「Set RAID」 ボタンを約5秒間押し続けて下
さい。
5) USBケーブルをコンピュータに接続して、 ディ スクをフォーマッ トして下さい。
