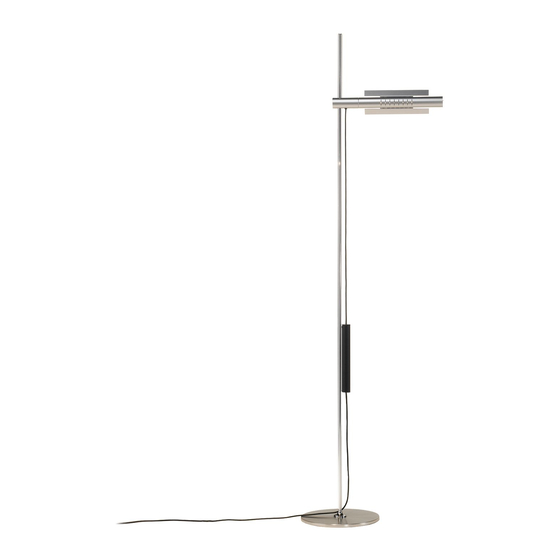
BALTENSWEILER HALO LED S Instructions de montage et d'utilisation - Page 3
Parcourez en ligne ou téléchargez le pdf Instructions de montage et d'utilisation pour {nom_de_la_catégorie} BALTENSWEILER HALO LED S. BALTENSWEILER HALO LED S 5 pages.
Également pour BALTENSWEILER HALO LED S : Instructions de montage et d'utilisation (16 pages)

BALTENSWEILER
BALTENSWEILER
MOUNTING AND OPERATING INSTRUCTIONS
HALO LED S
IMPORTANT! Read the instructions carefully beforehand and keep for future reference.
!
For safety regulations, protection classes and instructions, see page 5.
Mounting instructions
Mounting may only be carried out when the luminaire
1
is NOT supplied with power!
Clamp rod with protective profile in vice.
2
Attach base, cover and base-rosette to the rod with the supplied
3
screw, tighten the screw well
Remove rod from the vice
Cover
Base-rosette
Rod
2
3b
Slide the luminaire head onto the rod:
4
Press the stopper into the tube
hole from the stopper matches the hole in the tube
the luminaire head onto the rod and position it at the desired
height
.
4c
Lamphead must NOT be pushed down one the free side −
5
danger of breaking!
Only connect the luminaire to the power supply once the lumi-
6
naire has been completely mounted.
LICHT UND LEUCHTEN
.
3a
and put it on the floor.
3b
Base
1.
Protective profile
2.
Vice
and align it so that the
4a
www.baltensweiler.ch
LICHT UND LEUCHTEN
www.baltensweiler.ch
4.
3a
Screw
. Slide
4b
1
5
Tube
Luminaire head
Rod
Control gear
(holds magnetically)
6
M 1153/16032/SaWa/01.02.2021
Tel. +41 41 429 00 30
Tel. +41 41 429 00 30
4b
Stopper
4a
4c
EN
3 / 5
