Acoustic Signature MAXIMUS Neo Manuel d'instruction - Page 6
Parcourez en ligne ou téléchargez le pdf Manuel d'instruction pour {nom_de_la_catégorie} Acoustic Signature MAXIMUS Neo. Acoustic Signature MAXIMUS Neo 8 pages.

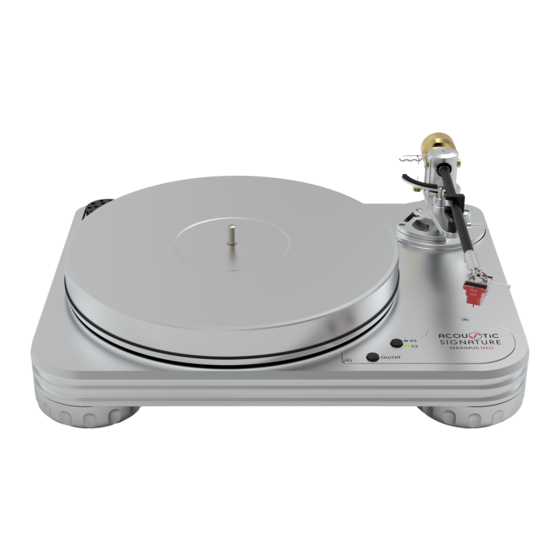
Fitting a tonearm
Now you can start to mount the tonearm and
cartridge according to the setup manual of the
manufacturer.
We provide appropriate armboards for a wide
range of tonearms. Please contact us for further
information.
Insert your chosen armboard into the fixture, if
necessary, align it and tighten it with the 3 hex
screws. Apply only light force, when tightening
the set screws.
Connecting the power supply
Simply insert the RJ45 - plug in the socket on the
backside of your MAXIMUS Neo and the mains
cable to your wall socket. That's all.
Tonarm einbauen
Nun können Sie den Tonarm und Tonabnehmer
entsprechend den Herstellerangaben montieren.
Wir liefern passende Armboards für eine grosse
Anzahl von Tonarmen. Bitte wenden Sie sich an
uns für weitere Informationen.
Setzen Sie das passende Armboard in die Auf-
nahme auf dem Chassis ein, richten es ggf. aus
und fixieren es mit den 3 Innensechskantschrau-
ben. Es genügt leichtes Anziehen.
Anschluss der Stromversorgung
Stecken Sie den RJ45-Stecker in die Buchse auf
der Rückseite Ihres MAXIMUS Neo und das
Netzanschlusskabel in die Steckdose und schon
kann es losgehen.
6
