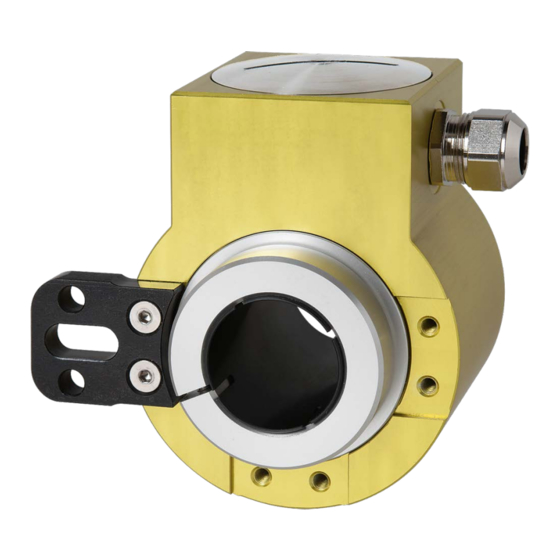
Camille Bauer KINAX HW730 Manuel d'utilisation - Page 13
Parcourez en ligne ou téléchargez le pdf Manuel d'utilisation pour {nom_de_la_catégorie} Camille Bauer KINAX HW730. Camille Bauer KINAX HW730 15 pages. Programmable hollow-shaft transmitter for angular position

7. Electrical connections
For connecting the external wires, the transmitter has a plug
connector M12 x 1 / 4 poles or a gland. During the version
with a gland the connection via a spring-type terminal block
made in accordance with diagram of connections.
R
ext
12...30 V DC
4-20 mA
Connection allocation plug
2
3
1
4
Do not electricly modify the device nor
•
carry out any wiring work when energi-
sed.
Do not plug in or unplug electric connection
•
when energised.
8. Electric commissioning
Provide a separate power supply for the device in case
•
of consumer loads with high interference levels.
Install the entire plant in an EMC-compatible manner.
•
Installation environment and wiring can affect the EMC
of the device.
9. Maintenance
The device is free of maintenance.
10. Programming instruction
10.1 Control panel
The transmitter is pro-
grammable via switch
and push-button.
These will be visible
after opening the top
cover.
Pressure-time for
programming:
short = 0.1s
long = 1s
10.2 Programming "Linear curve"
1.
Turn the switch to the linear mode (DIP2 „off")
2.
Choose rotary sense:
3.
Programming mode „on"
3 x short „0%" (0%; 0%; 0% → LED lights permanently)
4.
Bring transmitter to the starting position
Programming 0%
1 x short „0%" (0% → LED flashes shortly 1 x)
14
+
–
Pin
Plug
1
+
2
–
3
not
connected
4
DIP1 „off"; Clockwise
DIP1 „on"; Counterclockwise
5.
Bring transmitter to the end position
Programming 100%
1 x short „100%" (100% → LED flashes shortly 1 x)
6.
Programming mode „off"
3 x short „0%" ( → LED lights are no longer)
The zeropoint of a factory programmed linear curve can be
shifted, if point 1-4 and 6 of the programming instruction
programming "linear curve" are followed.
If there is in programming mode for about 15 minutes no
button pressed, the programming mode will be closed au-
tomatically without saving the changed parameters.
10.3 Programming "V-characteristic"
I
out
vmax1
20 mA
4 mA
vmin1
vmin2
Rotation clockwise
It is important to note that the points vmax1, vmin1, vmin2,
vmax2 has to turn clockwise!
1. Turn the switch to the linear mode (DIP2 „on")
2. Programming mode „on"
3 x short „0%" (0%; 0%; 0% → LED lights permanent-
ly)
3. Bring transmitter in position „vmax1" of the V-cha-
racteristic
Programming vmax1
1 x short „100%" (100% → LED flashes shortly 1 x)
4. Bring transmitter in position „vmin1"
Programming vmin1
1 x short „0%" (0% → LED flashes shortly 1 x)
5. Bring transmitter in position „vmin2" of the V-characte-
ristic
Programming vmin2
1 x long „0%" (0% → LED flashes shortly 2 x)
6. Bring transmitter in position „vmax2"
Programming vmax2
1 x long „100%" (100% → LED flashes shortly 2 x)
7. Programming mode „off"
3 x short „0%" (→ LED lights are no longer)
The zeropoint of a factory programmed V-characteristic can
be shifted, if point 1-3 and 7 of the programming instruction
programming "V-characteristic" are followed.
If there is in programming mode for about 15 minutes no
button pressed, the programming mode will be closed au-
tomatically without saving the changed parameters!
10.4 Restoring the factory default setting (Reset)
8.
Programming mode „on"
3 x short „0%" (0%; 0%; 0% → LED lights permanently)
9.
Push button „0%" for at least 5 s
(0% → LED flashes shortly 5 x; transmitter restart)
11. Declaration of conformity
See page 15.
vmax2
Angular
position
