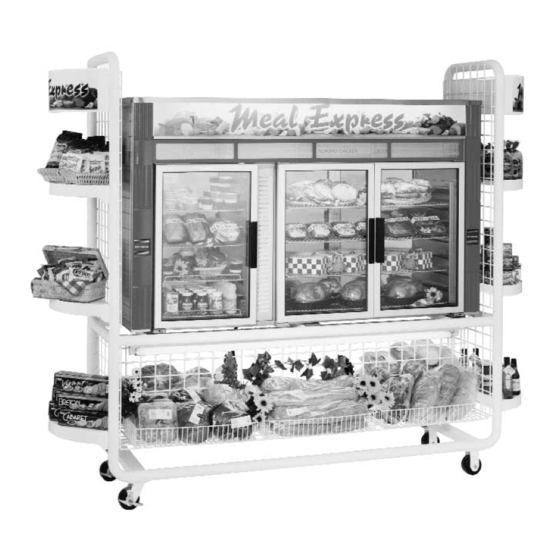
Alto-Shaam 1000-HCM Manuel d'utilisation et d'entretien - Page 3
Parcourez en ligne ou téléchargez le pdf Manuel d'utilisation et d'entretien pour {nom_de_la_catégorie} Alto-Shaam 1000-HCM. Alto-Shaam 1000-HCM 16 pages. Hot & cold merchandiser

1. Before operating the merchandiser, clean the interior and exterior of the unit with a damp cloth and mild soap solu-
tion. Rinse carefully.
2. Clean and install the cabinet wire shelves inside the hot and cold cavities, the bottom baffle pan in the hot cavity, and
the external condensate drip pan underneath the cold cavity.
3. Clean glass with a window cleaner.
4. After final hook-up, locate the circuit breaker box under the unit and flip breaker switches to the ON position for full
power to the merchandiser.
5. Let the case run through at least one defrost before loading with product, checking the duration of defrost (preferably
two or more) and frequency, to make sure the case is defrosting properly. Check the operating temperature to make
sure the case is functioning within the guidelines recommended for this case.
1. SETTING TIMER / DEFROST MECHANISM.
The timer/defrost mechanism is located behind the end panel on the refrigerated side of the merchandiser. The panel
can be removed by unscrewing two screws located at the top of the panel. Lift up and slide bottom of panel out to
remove. Press spring clip at right center of timer defrost box and open the metal case door.
A. To set the time of day, grasp knob in the center of the inner 2-hour dial and rotate it in a counter-clockwise direc-
tion. This will revolve the outer dial. Line up the correct time of day on the outer dial with the time pointer. Do
not try to set the time control by grasping the outer dial. Rotate the inner dial only.
B. To set the mechanical defrost termination, push down and rotate the copper pointer on the inside 2-hour dial until
it is opposite the desired time. Twenty (20) minutes is recommended in order to avoid frost build-up on the coils
and avoids warming of products kept in the cold compartment.
C. Slide the screw start pins out of the holder on the right side and place the start pins in the outer 24-hour dial at the
time of day that the defrosting should occur, and screw into place. Caution: Leave at least 1 hole between each
adjacent pin. It is recommended that the start pins be placed every 6 hours to coincide with off-peak times such as
before the store opens, after the store closes and lull periods during the business day to prevent the excess loss of
chilled air when the doors are continuously being opened.
Time Pointer
Inner Dial
S TA R T - U P
O P E R A T I O N A L P R O C E D U R E S
Operation & Care Manual #843 • 2.
r
Copper Pointer
Start Pin
Holder
Start Pin
