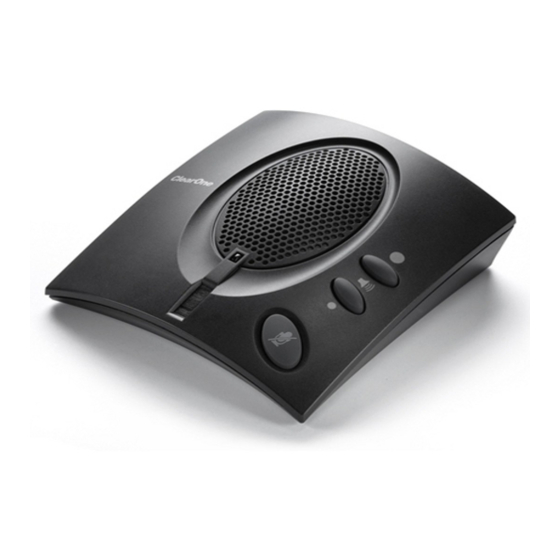
ClearOne CHAT 60 Manuel de l'utilisateur - Page 12
Parcourez en ligne ou téléchargez le pdf Manuel de l'utilisateur pour {nom_de_la_catégorie} ClearOne CHAT 60. ClearOne CHAT 60 16 pages. Group/personal speakerphone for skype
Également pour ClearOne CHAT 60 : Manuel de démarrage rapide (8 pages), Manuel de démarrage rapide (8 pages)

ADVANCED SETTINGS
Click the Advanced button to display the Advanced Settings screen.
The Advanced screen displays the current audio settings for your CHAT 60 from the Advanced screen, you can adjust
audio settings for your CHAT 60, view and edit the CHAT 60 database, and view the CHAT 60 log file.
»
NOTE
: The sections grayed out are not available for the CHAT 60 device.
Advanced Settings: Audio Settings
The Audio Settings screen displays the current audio settings and allows you to change them.
Available audio settings include:
•
USB Audio
: Controls CHAT 60 audio settings connected via the uSb to a PC or laptop. use the Mute buttons to
mute the microphone and/or speaker on the CHAT 60 use the sliders to adjust the microphone level and speaker
level. Speaker and microphone level adjustments made in the CHAT software will automatically change the speaker
and microphone volume levels in windows.
Any settings changes that made on this screen are instantaneously applied to the CHAT 60 In addition, the option to
click on the Save to Database is available to capture the current settings and save them as a custom device.
use the database tab to select a specific application setup that has been previously saved.
use the log tab to view any CHAT 60 log files generated that describe issues that the device has encountered or
updates that have been made to the CHAT 60 device.
NOTE
: The volume settings in the CHAT software are synchronized with the windows volume
»
settings. Changing the volume using the CHAT software or the buttons on the CHAT 60
also changes the volume settings in windows. Conversely, changing the volume settings in
windows also changes the settings in the CHAT software.
Chapter 3: Configuring the CHAT 60
9
