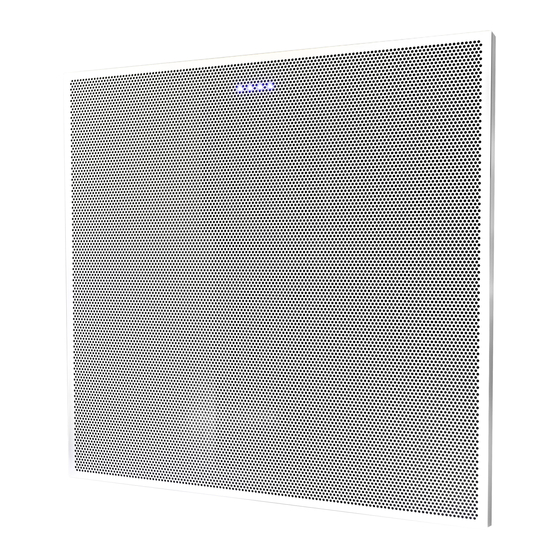
ClearOne BMA CT Manuel d'installation
Parcourez en ligne ou téléchargez le pdf Manuel d'installation pour {nom_de_la_catégorie} ClearOne BMA CT. ClearOne BMA CT 2 pages. Beamforming mic array - ceiling tile
Également pour ClearOne BMA CT : Manuel de démarrage rapide (17 pages), Manuel de démarrage rapide (17 pages)

Conduit Boxes for BMA CT, CTH,
and BMA 360
The method of attachment of the conduit box differs between a BMA CT or CTH, and a BMA 360.
For the BMA CT or CTH, adhesive strips are used; for the BMA 360, screws are used.
Important: ClearOne recommends that you attach the conduit box before you install the full unit in
the ceiling grid.
For BMA CT or CTH
Step 1
Remove adhesive tape liner from bottom three
surfaces of conduit box to expose adhesive strips. This
adhesive is rated for high temperatures.
Step 2
To avoid prematurely engaging the adhesive while you align
the open end of the box to the BMA CT/CTH connectors, tilt
the conduit box and slide it into position against the self-
clinching nuts.
Press the box into place.
Step 3
Remove the conduit box lid.
Attach conduit.
Route cables through desired knockouts.
Use the four M4x8mm screws to re-attach the conduit
box lid.
Information in this document is subject to change without notice.
Conduit Box Part Number:
910-3200-205-CB
Included Parts:
Conduit box with 6 concentric 1/2"
•
and 3/4" knockouts, with adhesive
strips on edges (1)
Conduit box lid (1)
•
M4x8mm screws (4)
•
© 2021 ClearOne
Installation Guide
QSG-0080-001v2.1 January 2021
