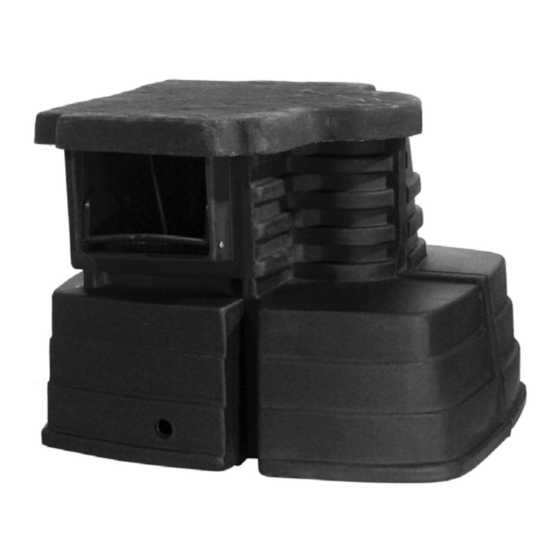
Clearpond 12459 Instructions d'installation - Page 3
Parcourez en ligne ou téléchargez le pdf Instructions d'installation pour {nom_de_la_catégorie} Clearpond 12459. Clearpond 12459 4 pages.

Step Four – Finishing Up.
How it Works.
Pond maintenance begins and ends at the skimmer.
90% of debris is windblown or falls from trees.
Capturing surface debris before it becomes water
logged and settles to the bottom of the pond lessens
clean-outs, eliminates decomposing matter, lightens
the load on your Bio filter, keeps water clearer and
prevents discoloured water. A surface skimmer
helps eliminate areas where diseases, anaerobic
bacteria's and pathogens thrive.
Skimmer Maintenance.
Shut off pump prior to cleaning
skimmer. Remove the cover to
expose the clean out area.
Finish stacking stones up the front of the
skimmer. Place the stones on the horizontal
ledges to help lock in the skimmer. Use stone to
conceal the skimmer door opening.
Hook up the check valve assembly to the pump
and install the pump in the skimmer. Hook up
the flex pipe to the check valve assembly. Install
the filter mat divider and the leaf basket into the
skimmer. Plug the pump into a GFCI protected
outlet. Place the cover on top, and enjoy.
Empty the leaf basket on a
weekly basis, more often if
needed. In the fall, skimmer
may need to be cleaned daily.
Leaf basket must stay clean to
allow water into pump to
prevent overheating the pump.
Spray out the leaf basket to get
rid of decomposed material.
