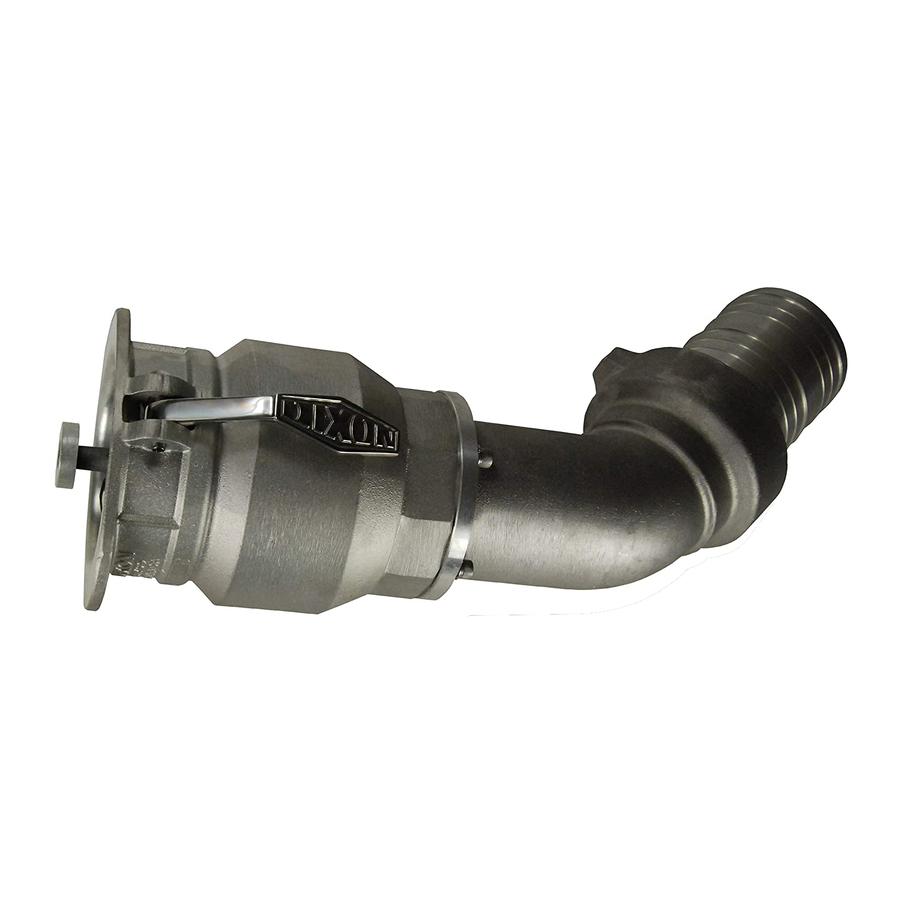
Dixon Bayco VR4040CS-ALS45 Instructions d'entretien et d'utilisation - Page 3
Parcourez en ligne ou téléchargez le pdf Instructions d'entretien et d'utilisation pour {nom_de_la_catégorie} Dixon Bayco VR4040CS-ALS45. Dixon Bayco VR4040CS-ALS45 4 pages. 4" vapour coupler by 4" x 45 degree swivel hose shank

These instructions and recommendations are provided to ensure proper
operation and long service life of Dixon Bayco VR4040CS-ALS45. Parts are
identified by the item numbers on the assembly drawing and parts list.
DISASSEMBLY INSTRUCTIONS
1. Hold the cage (2) and undo the machine screws (6) and washers (17) using
a screwdriver.
2. Remove the cage (2) and visually inspect the cage (2) and the button (11). If
the cage (2) and the button (11) are worn or damaged, replace with new
ones. Note! The button (11) is tightened onto the probe of the cage (2)
through the screw (13).
3. If the gasket (4) needs to be replaced, install the new gasket (4). Make sure
that the gasket (4) sits in the groove properly.
4. Push the poppet (3) into the coupler and hold. Remove the O-Ring (8) from
the poppet (3).
shank (assembly) by removing the socket screws (16) and lock washers (15).
6. Remove the poppet stop (12) from the flange end using a wrench for 1" hex.
7. Remove the poppet (3) and the spring (5).
8. Remove the bushing (7) and replace with a new bushing (7) if needed.
ASSEMBLY INSTRUCTIONS
1. Install the spring (5) and the poppet (3) from the front end into the body (1).
After the poppet (3) end passes the bushing (7), thread the poppet stop (12)
from the coupler back onto the poppet (3) end and hand tighten the poppet
stop (12).
090137 REV0 2017/02/21
Bill of Materials and Repair Kits
5. Separate the body (1) and the hose
Note! After
removed, the poppet stop (12) will
hold the poppet (3) in the coupler
body. If the poppet (3) is worn or
damaged, remove the coupler from the
hose or the mating part.
877.582.3569
the
O-Ring
(8)
is
3
