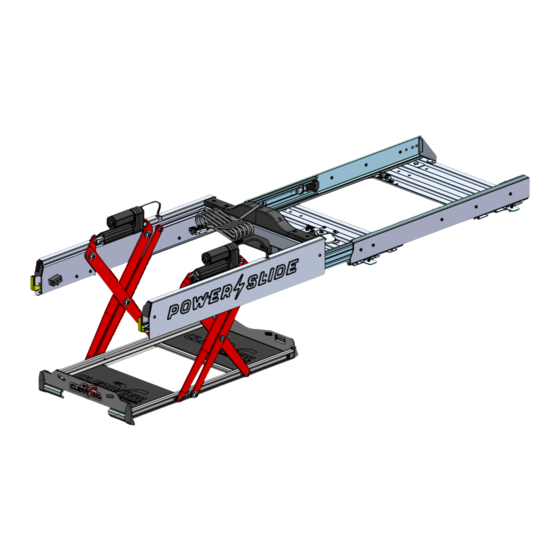
ClearView POWER SLIDE Manuel d'instructions de montage - Page 8
Parcourez en ligne ou téléchargez le pdf Manuel d'instructions de montage pour {nom_de_la_catégorie} ClearView POWER SLIDE. ClearView POWER SLIDE 16 pages.

Assembly Instructions
Use the Stanley knife to safely cut and remove the plastic bag (start from the top and work
your way around), ensuring that you do not damage any parts of the Power Slide™.
Slightly hang the front end of the Power Slide™ over the edge of the bench/table, ensuring
that it will remain in its spot.
NB: It is recommended to use a G-Clamp to help keep the Power Slide™ secure on the
bench/table.
Using a T25 Torx key, remove the two protector covers by undoing the 4x T25 screws that
secure the protector covers located underneath.
Re-arrange the Power Slide™ on the bench/table
so that it isn't hanging over the edge anymore.
Remove the remaining foam and cardboard inserts
within the Power Slide™.
NB: Please ensure to avoid damaging the
actuators between the foam and cardboard
packaging when handling.
8
clearviewaccessories.com.au
