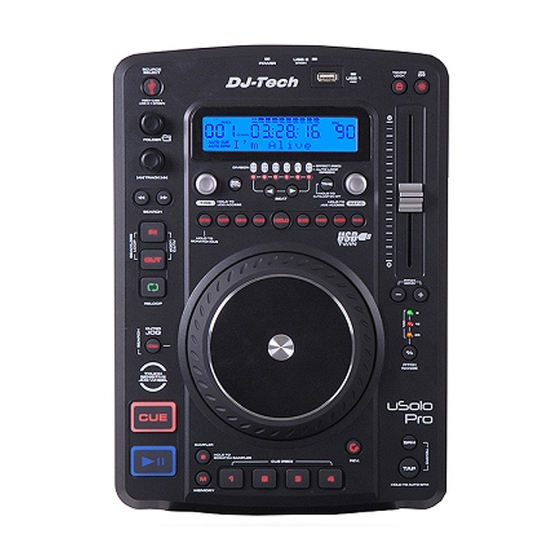
DJ-Tech uSolo Pro Manuel de l'utilisateur - Page 6
Parcourez en ligne ou téléchargez le pdf Manuel de l'utilisateur pour {nom_de_la_catégorie} DJ-Tech uSolo Pro. DJ-Tech uSolo Pro 12 pages. Professional usb

CONTROLS AND FUNCTIONS
SCRATCH CUE
IN PLAYBACK MODE:
While in play mode and when the touch sensitivity function is active, the JOG WHEEL can be used to
return the unit to last cue point. Simply touch the JOG WHEEL and unit will immediately return to the last
set cue point and allow you to scratch at this cue point.
IN CUE MODE:
While in cue mode and when the touch sensitivity function is active, tapping on the JOG WHEEL can be
used to start playback. The unit will continue to playback until the JOG WHEEL is released. Once the JOG
WHEEL is released the unit will return to the last point.
31. FILTER — This button is used to activate and deactivate the FILTER effect.
32. ECHO BUTTON — This button is used to activate and deactivate the ECHO effect.
33. TRANS BUTTON — This button is used to activate and deactivate the TRANS effect.
34. HOLD BUTTON - This button allows you to set and lock any new parameters you set to the FX. This
button will glow when the hold function is activated. If the hold function is not selected any changes to the
effect parameters will be momentary and will return to the previous parameter.
35. SKID BUTTON — This button is used to activate and deactivate the SKID effect. When SKID effect is
activated, the TIME PARAMETER is to adjust the start time and the RATIO PARAMETER is to adjust the
stop time.
36. PHASE BUTTON — This button is used to activate and deactivate the PHASE effect.
37. FLANGER BUTTON —This button is used to activate and deactivate the FLANGER effect.
38. PAN BUTTON — This button is used to activate and deactivate the PAN effect.
CONTROLS AND FUNCTIONS
1. AUDIO OUT SOCKETS - These analogue output sockets are used to connect to the input of you mixer.
2. USB 2 PORT – This is the USB port where you insert your USB mass storage device for playing MP3 files.
3. RELAY SOCKET - Via the RELAY SOCKET, two player can relay play. If you connect with a mixer which
supporting fader start, you can also relay play via mixer's cross-fader.
4. POWER SWITCH - Press this button to turn on/off the unit.
5. AC CONNECTION - Plug the power supply cable in here.
USB 2
1
2
3
4
5
5
TOP PANEL
