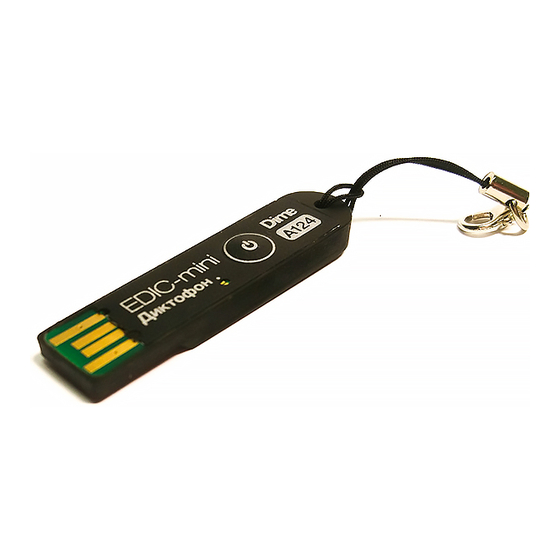
EDIC-mini A125 Instructions d'utilisation succinctes - Page 2
Parcourez en ligne ou téléchargez le pdf Instructions d'utilisation succinctes pour {nom_de_la_catégorie} EDIC-mini A125. EDIC-mini A125 3 pages.

Recorder's memory fill depends on the selected recording mode:
RecordMode
0 – PCM 22 kHz 24 bit
1 – PCM 22 kHz 16 bit
2 – PCM 16 kHz 24 bit
3 – PCM 16 kHz 16 bit
4 – PCM 8 kHz 24 bit
5 – PCM 8 kHz 16 bit
6 – uLaw 8 kHz 8 bit
7 – ADPCM 8 kHz 4 bit
For recorders with rechargeable batteries, first make sure the rechargeable battery is fully charged. Charge the battery if necessary by using
interface cable from the delivery set to connect the Recorder to the PC or power supply (e.g. of a smartphone) with output voltage 5V and a
standard USB output.
Charging process is accompanied by smooth lightening and attenuation of LED with an interval of 1 (the battery is discharged) to 3 seconds (the
battery is charged). Full charging takes about 2 hours.
When charging is completed, disconnect the cable from the computer or charger.
Important!!! In order to avoid deep discharge and related damage of the rechargeable battery, the Recorder must not be stored with a discharged
battery.
To enable recording keep the START button pressed for about a second until the LED starts flashing. For models with a switch, turn the switch
to the ON position.
For B120 model, recording is enabled after the battery is installed, and recording is stopped when the battery is removed. (Important! Due to the
on/off principle in the B120, from 1 to 15 seconds of the end of the recording may not be saved.) The LED flashes 3 times, and recording starts.
To stop recording, press and hold the "Start/Stop" button until the LED lights continuously or turn the switch to the "OFF" position.
During recording the LED flashes in two series, the number of flashes indicating:
Number of flashes
1
2
3
4
Recording also automatically stops when the battery is completely discharged or when the memory is full.
Recording can also be enabled with the start of charging process. To do this, first start recording, then set it to charge, until the recording stops,
the display will correspond to the recording mode. To combine the installation charge and the inclusion of the timers is unacceptable at a
specified time, recording will not start. Combining charging and VAS mode is acceptable.
To playback, copy or delete the records made, connect the Recorder to the PC using interface cable. The Recorder is recognized in the PC as a
removable media (flash drive). The Recorder's drive contains records in wav format (to playback them use any media player) and a config.ini
configuration file with the settings of the Recorder.
Important!!! Creating or saving files (except for the settings file) on the Recorder's drive is unavailable.
For more detail on operating records, file name interpretation see full Operation Manual
To configure the Recorder's parameters, set its internal clock and password, open config.ini in any word processor and set the desired parameters.
After forming the file with the settings through the Configurator, download and save it on your PC, delete the old config_w.ini file from the
Max time until memory is full (unless VAS or circular recording is enabled)
Dime B120
1 hour
1 hour 30 minutes
1 hour 30 minutes
2 hours 15 minutes
3 hours
4 hours 30 minutes
9 hours
18 hours
Getting Started
Recording
Battery charge level (1st series)
80-100%
20-80%
Record Playback
Setting the Recorder's Parameters
Dime A124, A125, A128
4 hours
6 hours
6 hours
9 hours
12 hours
18 hours
36 hours
72 hours
2-20%
Free memory capacity (2nd series)
75-100%
50-75%
25-50%
1-25%
