Altronix RE2 Manuel de démarrage rapide
Parcourez en ligne ou téléchargez le pdf Manuel de démarrage rapide pour {nom_de_la_catégorie} Altronix RE2. Altronix RE2 2 pages. Rack mount battery enclosure
Également pour Altronix RE2 : Instructions d'installation (2 pages), Manuel (2 pages)
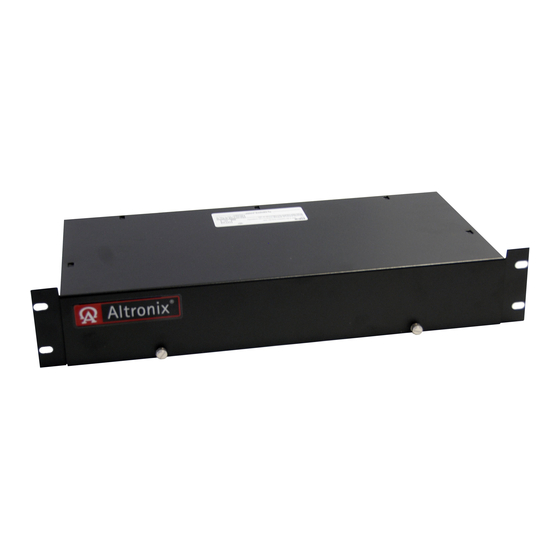
Altronix RE2/RE2R Rack Mount Battery enclosure offers a convenient way to house up to four (4) 12VDC/7AH batteries in a rack configuration.
• Battery output PTCs rated @ 12A.
• Four (4) individual sets of battery power terminals (external).
• 2U rack mount chassis for use in standard EIA 19" rack.
1. Mount RE2 / RE2R in desired rack location.
2. Remove front access panel by rotating thumb screws counterclockwise (Fig. 2, pg. 2).
3. Place desired number of sealed lead acid or Lithium Iron Phosphate (LiFePO 4 ) rechargeable batteries in each slot on the bottom of
enclosure [BAT1] - [BAT4] (Fig. 2, pg. 2).
4. Connect battery terminals to each pair of Red [+] and Black [–] battery leads that correspond to terminal blocks [BAT1] - [BAT4]
(carefully observe polarity).
5. Replace the front access panel by rotating thumb screws clockwise (Fig. 2, pg. 2).
6. Connect charging circuit from single power supply or multiple power supplies in desired configurations [BAT1] - [BAT4] terminals
located on the rear of the RE2 enclosure (carefully observe polarity) (Fig. 1a through Fig. 1e, pgs. 1 & 2).
Fig. 1
Fig. 1a - Single or multiple 12VDC power supplies.
BAT2
+ + --- ---
From 12VDC
Power Supply/
Charger 2
Battery Terminals
Fig. 1c - Single or multiple 24VDC power supplies (series connection).
From 24VDC
Power Supply/Charger 2
Battery Terminals
Fig. 1d - Single 24VDC power supply (series parallel connection).
RE2 / RE2R
Rack Mount Battery Enclosure
Installation Instructions:
BAT1
+ + --- ---
Terminal Blocks
located on the
rear of RE2 Rack
Enclosure
From 12VDC
Power Supply/Charger 1
Battery Terminals
BAT4
BAT3
+ + --- ---
+ + --- ---
BAT4
BAT3
+ + --- ---
+ + --- ---
BAT4
BAT3
+ + --- ---
+ + --- ---
Overview:
Specifications:
- RE2 - Black enclosure
- RE2R - Red enclosure
Fig. 1b - Single 12VDC power supply (parallel connection).
BAT2
+ + --- ---
BAT2
+ + --- ---
+ + --- ---
BAT2
+ + --- ---
+ + --- ---
BAT2
+ + --- ---
+ + --- ---
BAT1
+ + --- ---
Terminal Blocks
located on the rear of
RE2 Rack Enclosure
From 12VDC
Power Supply/Charger
Battery Terminals
BAT1
Terminal Blocks
located on the rear of
RE2 Rack Enclosure
From 24VDC
Power Supply/Charger 1
Battery Terminals
BAT1
Terminal Blocks
located on the rear of
RE2 Rack Enclosure
From 24VDC
Power Supply/Charger 1
Battery Terminals
BAT1
Terminal Blocks