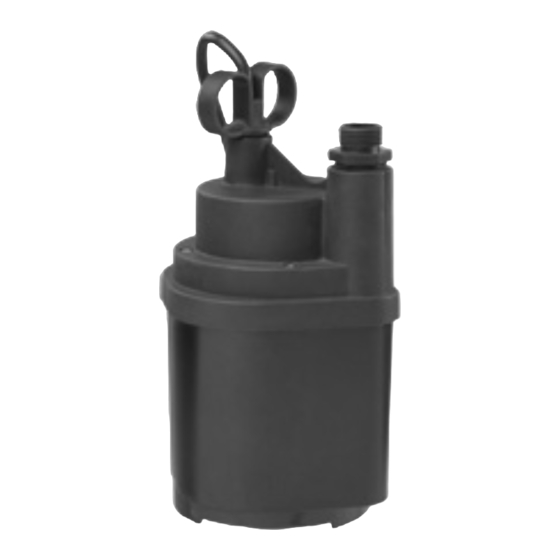
Blue Angel Pumps BWEU250 Manuel d'utilisation - Page 3
Parcourez en ligne ou téléchargez le pdf Manuel d'utilisation pour {nom_de_la_catégorie} Blue Angel Pumps BWEU250. Blue Angel Pumps BWEU250 9 pages. Submersible automatic utility pump

Operation
(continued)
3. The motor is equipped with an
automatically resetting thermal
overload protector. If the motor gets
too hot, the overload protector will
stop the motor before it is damaged.
When the motor has cooled
sufficiently, the overload protector will
reset itself and the motor will restart.
If the overload protector stops the
pump repeatedly, disconnect the
power from the pump and check it to
find the problem. Low voltage, long
extension cords, clogged impeller, too
much back pressure in the discharge
hose (as when pumping through 50
foot (15 m) of coiled hose), or
extended running of pump with no
load, can all cause overheating.
The water being pumped cools the
motor, allowing the pump to run
continuously at any depth of water
above 1/4 inch. However, if the
motor overload stops the pump,
allow it to cool for one hour before
restarting. Motor will not restart
before the overload has cooled.
Troubleshooting Chart
Symptom
Possible Cause(s)
Pump will not start or
1. Pump is in "Sleep Mode"
run
2. Blown fuse or tripped circuit breaker
3. Low line voltage
4. Defective motor
5. Impeller (pump filled with debris)
6. Not properly primed
Pump shuts off and turns
1. Pump cycles automatically
on independently
2. Excessive water temperature
3. Pump has run dry. Insufficient fluid level for
1. Worn bearings
Pump operates noisily or
vibrates excessively
2. Debris in impeller cavity
3. Piping attachments to building structure too
Pump operates but
1. Low line voltage
delivers little or no water
2. Debris caught in impeller or discharge
3. Worn or defective pump parts or plugged
4. Pump not properly sized for application
5. Check valve stuck closed
6. Air trapped in volute
Garden Hose
Connector
Check Valve
Automatic
Priming
Valve
Figure 2
AIRLOCKS
When a pump airlocks, it runs but does
not move any water. Airlocks will
cause the pump to overheat and fail.
This pump has an automatic priming
valve in the top of the pump body. If
you suspect an airlock, unplug the
pump, clean out the hole around the
automatic priming valve with a paper
clip or piece of wire, and restart the
pump.
pump to prime
rigid or too loose
impeller
If problem persists, remove check valve
and connect garden hose connector
directly to pump.
If the outlet of the discharge hose /
pipe is submerged, you must have a
1/8 inch in the discharge hose / pipe
to prevent airlock. This hole must be
open to air.
Maintenance
1.No oiling is required for this pump.
2.Disassembly of the motor prior to
expiration of warranty will void the
warranty. It might also cause internal
leakage and damage to the unit. If
repairs are required, return the pump
to the dealer from whom it was
purchased or contact local electrical
repair shop station. If motor is ever
disassembled the O-rings must be re-
placed. Care must be taken to ensure
that all seals do not leak.
3.Inlet should be kept clean and free of
all foreign objects remove debris.
Corrective Action
1. Briefly unplug pump to reset
2. If blown, replace with proper sized fuse or reset breaker
3. If voltage is under recommended minimum, check wiring size
from the main switch on property. If OK, contact power
company
4
Replace pump
5. If impeller will not turn, remove base and remove debris.
6. Reposition pump in at least 1-1/2 inches of water to properly
prime
1. No action necessary. Refer to Operation Modes for explanation
of operating modes
2. Pump should not be used for water above 120°
3. Replace or reposition pump
WARNING: Pump may start unexpectedly.
Disconnect power supply before servicing
1. Replace pump
2. Remove base, clean impeller
3. Replace portion of discharge pipe with flexible connector
1. If voltage is under recommended minimum, check wiring size
from the main switch on property. If OK, contact power
company
2. Remove, clean and check for tightness
3. Replace pump. Clean parts if required
4. Recheck all sizing calculations to determine proper pump size
5. Remove and examine check valve for proper installation and
free operation
6. Check automatic priming valve. It should move freely in and
out. If problem persists, remove check valve and connect
garden hose connector directly to pump.
3
BWEU250
www.blueangelpumps.com
