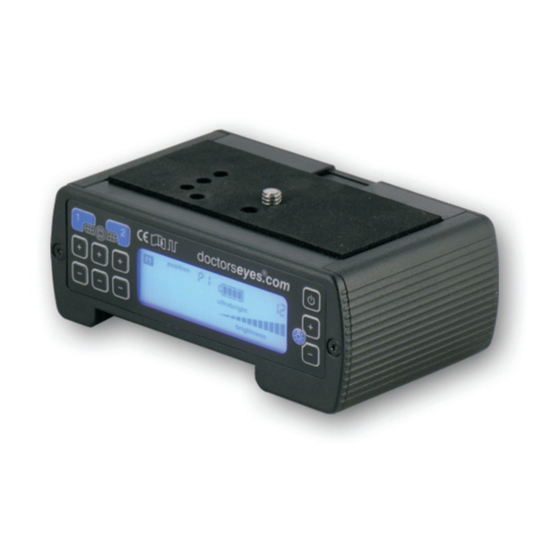
Doctorseyes PLC-4 Manuel d'instruction - Page 4
Parcourez en ligne ou téléchargez le pdf Manuel d'instruction pour {nom_de_la_catégorie} Doctorseyes PLC-4. Doctorseyes PLC-4 4 pages. Power and light controller

doctors
eyes.com
Turning the Controller On and Off
The PLC-4 can be turned on and off by
®
1
prog. 2
2
doctorseyes.com
position
f1
f2
pushing the button in the top right
ultrabright
temp
brightness
corner of the controller. The blue
colored display is visible when the
controller is on.
Regulating Brightness
The light can be adjusted up to a level
doctorseyes.com
®
1
prog. 2
2
13 by using the plus and minus
position
f1
f2
ultrabright
buttons.
temp
brightness
The current level of brightness is
indicated by a number in the top right
corner of the controller display and the
position
f1
f2
triangle bar graphic below. When
ultrabright
maximum level of brightness has been
brightness
temp
reached, the word "ultrabright" appears.
Changing Light Segment
Combinations
The doctors
offers a maximum of flexibility through
its many light combinations as well as
by the Winglights and center Ringlight.
The six plus and minus buttons control
1
2
doctorseyes.com
®
prog. 2
sections of LED light segments on each
position
f1
f2
ultrabright
wing and the center ring. This makes it
brightness
temp
possible to activate a specific segment
of the light system, for example the
bottom half of the right wing.
The lit segments are visible on the
position
f1
f2
controller display. Every light segment
ultrabright
has a corresponding number which is
brightness
temp
indicated on the display. These
numbers repeat themselves if one was
to scroll through. Each Winglight offers
13 settings (from 0 to 12), the Ringlight
7 settings (from 0 to 6).
the world of digital dental imaging
eyes
Professional System
2
doctors
eyes.com
The various combinations can be
®
1
prog. 2
2
doctorseyes.com
controlled by pushing the plus and
position
f1
f2
ultrabright
minus buttons. If the button is pushed
temp
brightness
down briefly the number increases if
the button is pressed longer than one
second, the numbers will go back to
previous light combinations, 'counting
down'. This allows for fast and
comfortable control of the various
lighting combinations in the controller
display.
When looking through the camera
viewer while adjusting the light
combination one can quickly identify
the best lighting conditions for the
picture. When taking front close-up
shots, we recommend shutting off the
center Ringlight and only using the
Winglights on the side.
Saving Light Segment
Combinations
The
lighting combinations to be saved and
each retrieved by the push of a
button. This is especially helpful when
a specific lighting combination is used
repeatedly.
To save a light segment combination,
have the camera lit the way it should
®
1
prog. 2
2
doctorseyes.com
be saved. Press either the '1' or '2'
position
f1
f2
ultrabright
button longer than one second. The
temp
brightness
light combination is stored when you
see 'f1' and 'P1' in the controller
display. To retrieve the lighting
position
f1
f2
ultrabright
combination, press the same number
brightness
temp
again (either 1 or 2).
the world of digital dental imaging
PLC-4 allows for two preferred
3
