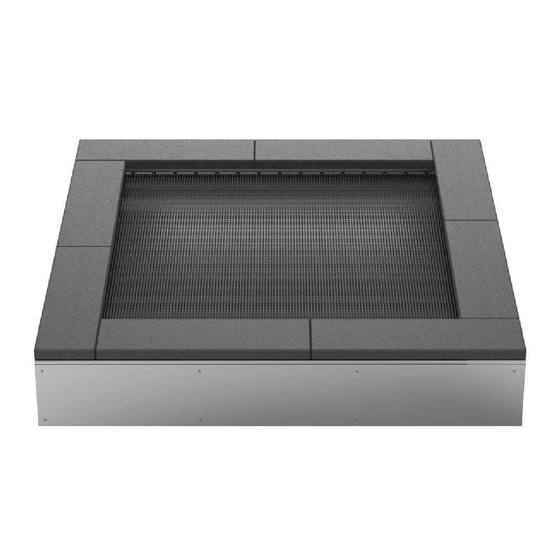
Akrobat PLAYGROUND Manuel d'installation et d'utilisation - Page 4
Parcourez en ligne ou téléchargez le pdf Manuel d'installation et d'utilisation pour {nom_de_la_catégorie} Akrobat PLAYGROUND. Akrobat PLAYGROUND 8 pages. 6'7'' x 6'7'' / 200 x 200 cm

Digging the trampoline pit
Position the frame on the location you chose and mark the position on the ground. It's
3
best to mark out a hole a bit wider than the diameter of your trampoline. This will make
it easier for you to put the frame in and find the right level. Dig the pit to the following
dimensions described in instructions manual.
The hole should be 75 cm / 2'6'' deep, 200 cm / 6'7'' wide and 200 cm / 6'7'' long. First
dig the outer hole to create a ledge for your trampoline frame, which needs to be
40 cm / 1'4'' deep. Continue by digging the inner hole according to the dimensions
of your trampoline, with a bowl-shaped bottom. The inner hole should be 40 cm /
1'4'' narrower than the trampoline size. This will leave a 20 cm / 8'' ledge all around on
which the trampoline will sit.
TRAMPOLINE SIZE
Dimension A
– Trampoline size
6'7'' x 6'7'' / 200 x 200 cm
40 cm
C
/ 1'4''
75 cm
/ 2'6''
The hole should not accumulate water (in which case the drainage is necessary) and it
should be possible to clean during maintenance.
AKROBAT HINT:
It's a relatively easy task to hand dig the hole for smaller size trampolines, but it
would be best to hire a mini digger able to excavate most of the soil and leave you
with the finishing touches.
Note: You will need to save some of the soil for later.
6
INSTALLATION AND USER MANUAL - PLAYGROUND
Dimension B
Dimension C
– Inner hole
– Total depth
160 x 160 cm / 5'3'' x 5'3''
75 cm / 2'6''
A
200 cm / 6'7''
B
160 x 160 cm / 5'3'' x 5'3''
20 cm
/ 8''
Place trampoline to the ground hole
You have metal frame with jumping
4
mat ready to put it all togehther to the
prepared hole in the ground. Level it to
the right position.
There should be no gap between ground
and your trampoline. Finally, re-lay the
saved soil around the trampoline and
compact down as much as possible.
Fix rubber tiles-frame plates on the frame
In the last phase you need to place frame/rubber tiles on the top of the metal frame. Two hooks in
5
cover plates should fit directly in the holes on the metal frame. Then slowly lay down the rubber
tiles to the metal frame. Part in the middle of the rubber tiles will fit directly to the prepred hole
in the metal frame. All four rubber tiles are the same, so you can start assembling randomly.
In case of maintenance (changing springs or jumping mat), just lift rubber tiles for app. 45 degree
and push it easily to yourself. Rubber tiles will »unlock« from the metal frame and you can remove
it down from metal frame and then change spare parts.
7
