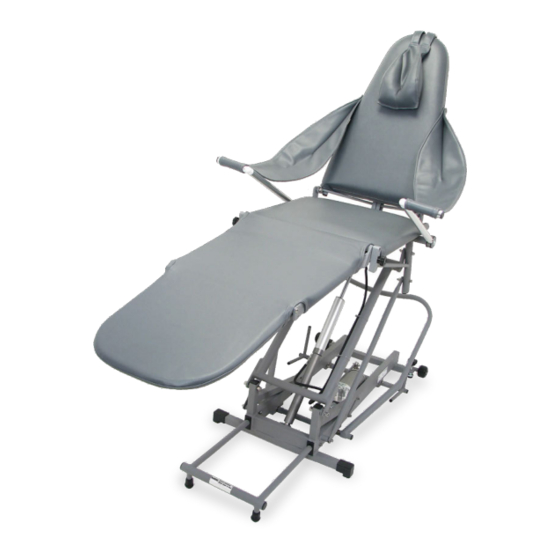
Aseptico ADC-02 Manuel d'utilisation et d'entretien et liste des pièces détachées - Page 5
Parcourez en ligne ou téléchargez le pdf Manuel d'utilisation et d'entretien et liste des pièces détachées pour {nom_de_la_catégorie} Aseptico ADC-02. Aseptico ADC-02 16 pages. Portable hydraulic dental chair

CLEANING AND MAINTENANCE
CLEANING
Clean the upholstery by wiping with a soft cloth moistened with
a mild detergent. Although not recommended, bleach diluted to
<10% with water can be used but must be wiped dry immediately.
The use of solvents or other solutions may cause damage and void
the warranty.
The use of barrier covers will greatly extend the life of the chair
upholstery.
PURGING AIR FROM THE HYDRAULIC SYSTEM
If the hydraulic operation of the ADC‑02CF feels soft or jerky, the
system may need to be purged of air.
With normal use, small amounts of air can enter the hydraulic
system. Air may be in the pump, seat or backrest cylinders. Since
air will always rise to the top of contained hydraulic oil and there
are no bleeder valves, special procedures are required to purge air
from the cylinders:
1.
QUICK PURGE: Put the selector lever (Fig. 1 A) in the SEAT
LIFT position and pump the lift lever (Fig. 1 B) with several
brisk full strokes. This may simply resolve the problem. If the
hydraulic operation is still not satisfactory, proceed to step 2.
Fig. 1
Fig. 1
2a. PUMP CYLINDER PURGE: Put the selector lever (Fig. 2 A) in
the SEAT LIFT position. Press down on the lift lever (Fig. 2 B)
and hold it there so you can access the rubber bump stop (Fig. 2
C
). Remove the rubber bump stop by twisting and pulling on it.
Fig. 2
Fig. 2
C
B
A
A
B
ADC-02
2b. The object now is to force the pump piston all the way into the
pump cylinder to purge any trapped air. You will need a flat‑
blade screwdriver with shaft diameter of 3/8" or larger. Push
the lift lever all the way down with one hand and with the
other hand, place the tip of the screwdriver (Fig. 3 A) between
the pump roller (Fig. 3 B) and pump piston (Fig. 3
allow the lift lever to come up, wedge the screwdriver further
down between the pump roller and pump piston. It may take
a couple of strokes to wedge the screwdriver in far enough
until the lift lever stops where the pump piston has "bottomed
out" and all the air has been purged.
If the seat reaches full height before you are able to push the
pump piston all the way in, you will need to lower the seat part
way to continue.
Complete this operation by reinstalling the rubber bump
stop removed in step 2a. If the hydraulic operation is still not
satisfactory, proceed to step 3a.
Fig. 3
Fig. 3
3a. SEAT CYLINDER PURGE: Raise the seat (Fig. 4 A) and the back‑
rest (Fig. 4 B) all the way up. Tie the arm slings (Fig. 4
over the pillow. Fully extend the stabilizer (Fig. 4 D).
Fig. 4
Fig. 4
A
B
C
C
A
D
C
). As you
C
) loosely
B
5
