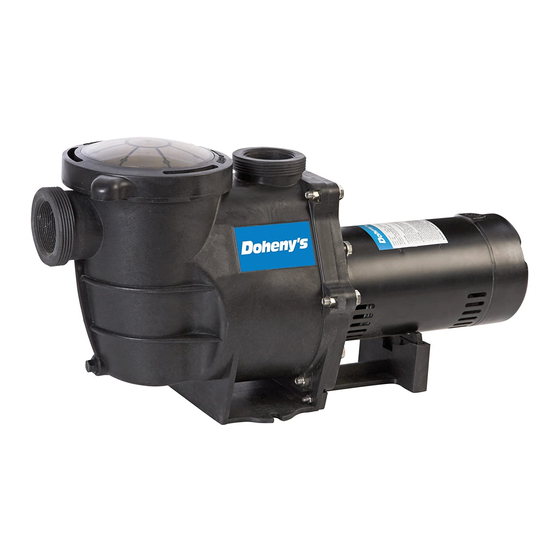
Doheny's 2601 Installation, fonctionnement et pièces détachées - Page 6
Parcourez en ligne ou téléchargez le pdf Installation, fonctionnement et pièces détachées pour {nom_de_la_catégorie} Doheny's 2601. Doheny's 2601 12 pages. Above ground and in-ground pumps

CHAPTER 5
: MAINTENANCE
• Clean strainer basket regularly. Do NOT strike
basket to clean. Inspect strainer cover gasket
regularly and replace as necessary.
• Pumps have self-lubricating motor bearings and
shaft seals. No lubrication is necessary.
• Keep motor clean. Insure air vents are free from
obstruction to avoid damage. Do NOT use water
to hose off motor.
• Occasionally, shaft seals must be replaced, due
to wear or damage. See 'Shaft Seal Change
Instructions' in this manual.
CHAPTER 6
: STORAGE/WINTERIZATION
▲WARNING Separation Hazard.
1. Do not purge the system with compressed air.
Purging the system with compressed air can cause
components to explode, with risk of severe injury
or death to anyone nearby. Use only a low pressure
(below 5 psi), high volume blower when air purging
the pump, filter, or piping.
2. Allowing the pump to freeze will void the warranty.
3. Use ONLY propylene glycol as antifreeze in your
pool/spa system. Propylene glycol is nontoxic and
will not damage plastic system components; other
anti-freezes are highly toxic and may damage
plastic components in the system.
4. Drain all water from pump and piping when
expecting freezing temperatures or when storing
pump for a long time (see instructions below).
5. Keep motor dry and covered during storage. To
avoid condensation/corrosion problems, do NOT
cover or wrap pump with plastic film or bags.
Storing Pump For Winterization
▲WARNING To avoid dangerous or fatal electrical
shock hazard, turn OFF power to motor before
draining pump. Failure to disconnect power may
result in serious personal injury or death.
1. Drain water level below all inlets to the pool.
2. Remove drain plugs from bottom of strainer body,
and remove strainer cover from strainer housing.
3. Disconnect pump from mounting pad, wiring
system (after power has been turned OFF), and
piping system.
4. Once the pump is removed of water, re-install the
strainer cover and drain plugs. Store pump in a dry area.
Shaft Seal Change Instructions
IMPORTANT SAFETY INSTRUCTIONS, PLEASE
READ AND FOLLOW ALL INSTRUCTIONS.
Modifications done to the pumps will void the
warranty.
6950 51st Street Kenosha WI 53144 | Orders and Customer Care: 1-800-574-7665 | Fax: 1-800-323-5932 | Doheny.com
When servicing electrical equipment, basic safety
precautions should always be observed including
the following. Failure to follow instructions may
result in injury.
A. To reduce risk of injury, do not permit children to
use this product.
B. Disconnect all electrical power service to pump
before beginning shaft seal replacement.
C. Only qualified personnel should attempt rotary seal
replacement. Contact your local authorized Dealer
or service center if you have any questions.
D. The National Electrical Code requires either a
three foot maximum twist-lock cord set with a GFCI
protected receptacle (may be required and sold
at your local hardware store) or hard wire (conduit)
connection for swimming pool pump installation.
Do not use extension cords.
E. Exercise extreme care in handling both the rotating
and the stationary sections of the two-part
replacement seal. Foreign matter or improper
handling will easily scratch the graphite and ceramic
sealing surfaces.
CHAPTER 7
: TROUBLESHOOTING
A. Motor Will NOT Start – Check For:
Make sure the terminal board connections agree
with the wiring diagram on motor data plate label.
Be sure motor is wired for available field supply
voltage (see pump operating label).
1. Improper or loose wiring connections; open
switches or relays; tripped circuit breakers, GFCIs,
or blown fuses.
Solution: Check all connections, circuit breakers,
and fuses. Reset tripped breakers or replace blown
fuses.
2. Manually check rotation of motor shaft for free
movement and lack of obstruction.
Solution: Refer to 'Shaft Seal Change Instructions'
in this manual.
3. If you have a timer, be certain it is working properly.
Bypass it if necessary.
B. Motor Shuts OFF – Check For:
1. Low voltage at motor or power drop (frequently caused
by undersized wiring or extension cord use).
Solution: Contact qualified professional to check
that the wiring gauge is heavy enough. NOTE: Your
pump motor is equipped with an 'automatic thermal
overload protector.' The motor will automatically
shut off if power supply drops before heat damage
can build up causing windings to burn out. The
'thermal overload protector' will allow the motor to
automatically restart once the motor has cooled. It
will continue to cut On/Off until the problem is
corrected.
Be sure to correct cause of overheating.
