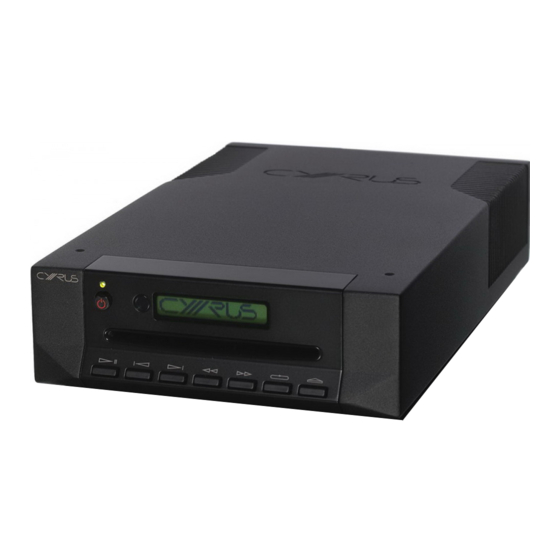
Cyrus CD XT SE2 Instructions pour l'utilisateur - Page 6
Parcourez en ligne ou téléchargez le pdf Instructions pour l'utilisateur pour {nom_de_la_catégorie} Cyrus CD XT SE2. Cyrus CD XT SE2 13 pages.

- 1. IMPORTANT! Read before Operating this Equipment
- 2. Power Supply
- 3. Product Service Centres
- 4. Preparations for Installation
- 5. Installation
- 6. Connecting to the Ac Mains Supply
- 7. Connecting to the System Amplifier
- 8. Operation
- 9. Front Panel Display
- 10. Program Memory Storage
- 11. Loading a Disc
- 12. Playing a Disc
- 13. Troubleshooting Guide
- 14. Specifications
- 15. Warranty
- 16. Laser Product
Cyrus CD 6
CD 8
SE
2,
INSTALLATION
(Refer to Fig.1
Key to the rear panel drawing:
1. Audio Outputs
2. Optical Output
3. Digital Output
Connecting to the AC Mains Supply
Connect the socket on the AC Power cable to the AC Power inlet
panel of the CD 8
. Now connect the cable to a suitable AC power point.
SE
2
There is no mains power switch on the CD 8
supply to the CD 8
remove the plug from the wall outlet. For this reason,
SE
2
ensure that the plug is easily accessible when installing the unit.
Connecting to the System Amplifier
(CD 8
and CD 6
only)
SE
SE
2
2
Connect a suitable stereo RCA phono interconnect to the audio output
a
sockets
of the CD 8
and the corresponding input of the amplifier or
SE
2
receiver. Amplifier inputs suitable for this purpose are CD or AUX inputs.
Dual outputs are provided for convenient connection to multiroom units or for
direct connection to tape/disc recorders etc.
DO NOT connect the CD 8
SE
2
could damage your amplifier or speakers.
Connecting an External D/A Converter
The CD 8
provides a digital output to drive an external D/A converter.
SE
2
Using a digital interconnect, connect the DIGITAL OPTICAL
c
COAXIAL
(CD 8
, CD XT
SE
2
suitable D/A converter and connect the converter's audio outputs to a suitable
input of the amplifier. Refer to the D/A converter handbook for guidance.
The DIGITAL COAXIAL connection is recommended where this connection is
available.
Connecting a Cyrus PSX-R
The Cyrus PSX-R is a high quality regulated power supply, the use of which
will elevate your CD 8
into a true world-class state-of-the-art product.
SE
2
The connector fitted to the umbilical cable from the PSX-R must be securely
connected to the PSX-R socket
fitted, the connector will latch into the socket.
NOTE: The PSX-R power supply and the CD 8
connection to the mains supply.
NOTE: Connection of a PSX-R is detected automatically, so no internal
adjustments are required.
MC-Bus System Connection (Optional)
By using the MC-BUS connection on your CD 8
integrated system with full remote control may be set up. This feature is
usable if you own a Cyrus amplifier. Refer to the relevant product handbook
for MC-BUS wiring instructions.
CD XT
CD
SE
SE
2,
2,
)
4. MC-Bus System
5. PSX-R Connection
6. Power Inlet
f
. To switch off the mains
SE
2
to the PHONO input of the amplifier, as this
b
CD
only) to the input of a
SE
T TRANSPORT
,
2
(CD 8
and CD XT
only)
SE
SE
2
2
e
on the rear of the CD 8
. When correctly
SE
2
will both require
SE
2
, a highly functional
SE
2
T TRANSPORT
on the rear
or DIGITAL
3
User Instructions
