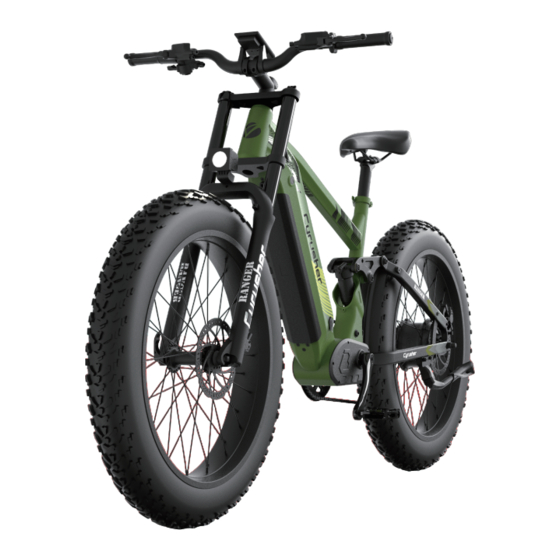
Cyrusher RANGER Manuel du propriétaire - Page 4
Parcourez en ligne ou téléchargez le pdf Manuel du propriétaire pour {nom_de_la_catégorie} Cyrusher RANGER. Cyrusher RANGER 16 pages. All-terrain e-bike

Assembling
1) Read all of the instructions carefully. Be familiar with the proper operation of all items.
2) This quick guide is intended to list the steps needed to assemble your bike with some
mechanical skills. It is not a complete manual or training. If you do not feel comfortable or
lack some of the skills to assemble it yourself, reach out to a cyclist friend, a local bike
mechanic or one of our support technicians for guidance.
3) Our QA mechanics have assembled and tested your bike beforehand.
4) To assemble your bike, work on a clean area with enough space to maneuver.
5) If installed, remove the battery from the bike to start the assembly.
6) Inspect the bike completely to be sure no damage occurred during shipping.
7) The kickstand is designed to support the bicycle only. Not the rider mounted.
8) You can adjust your saddle position and the tilt on your handlebar items for comfort.
9) Check all screws and parts are tight and properly fixed. We recommend a pre-trip
inspection before your first rides.
Installing Your Handlebars
1) Point the headset towards the front of the bike.
2) Place the handlebar in the handlebar mount being careful with the wires.
3) Face the mounting brackets on the front end of the mount with the round edges facing
outward.
4) Insert the screws into the screw holes and tighten alternating sides until secure (4mm allen
wrench with 6NM tight torque).
5) Verify your front tire lines up with your headset.
6) Tighten screws on stem end (4mm allen wrench with 6N strength) and top of the stem (5mm
allen wrench with 6-8N strength).
7) Check all headset items are tight.
OWNERS MANUAL | CYRUSHER RANGER
Screw 3: Tight torque 6NM
Screw 4: Tight torque 6-8NM
Screw 5: Tight torque 6NM
4
