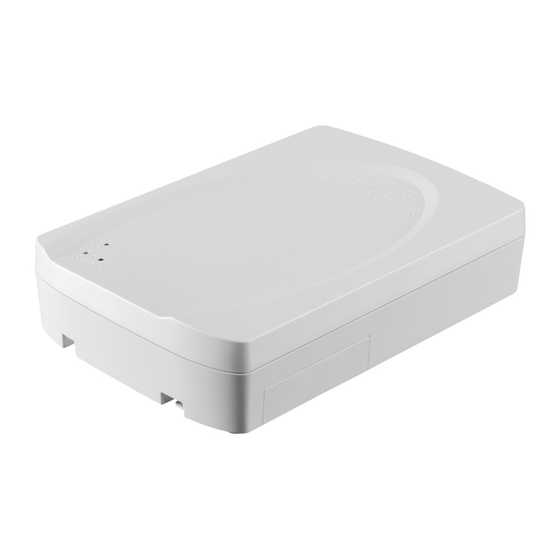
Egardia Extender Manuel d'installation - Page 5
Parcourez en ligne ou téléchargez le pdf Manuel d'installation pour {nom_de_la_catégorie} Egardia Extender. Egardia Extender 5 pages. Egardia extender installation guide

APPENDICES
A – Indicator lights extender
B – DIP switches extender
APPENDIX A: INDICATOR LIGHTS EXTENDER
The extender features 3 indicator lights. Here below you will find an overview of the operation of the
various indicator lights.
Indicator light Activity
(green)
Indicator light Status
(red)
Indicator light Fault
(yellow)
APPENDIX B: DIP SWITCHES EXTENDER
The extender features 6 DIP switches that allow you to adjust the operation of the extender. Here
below you will find an overview of the operation of the various DIP switches.
DIP switch 1
OFF
ON
DIP switch 2
OFF
ON
DIP switch 3
OFF
ON
DIP switch 4
DIP switch 5
DIP switch 6
4
Off
Extender is not connected to a power
supply
On
Extender is connected to a power
supply
Flashes once
Extender receives a signal from a
accessory or from the gateway
Off
Extender is in standby mode
On
Extender is ready for installation
Flashing
Extender is ready for testing
Off
Normal operation
On
Internal battery is low
Flashes once
Accessory is successfully registered
with the extender
Installation
Default
Installation mode
Test
Default
Testing mode
Erase memory
Default
Erase memory
Reserved
Reserved
Reserved
