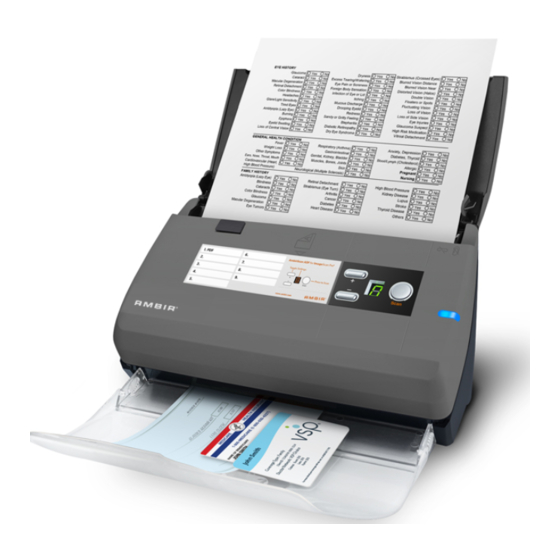
Ambir ImageScan Pro 800ix series Manuel d'installation et de configuration - Page 4
Parcourez en ligne ou téléchargez le pdf Manuel d'installation et de configuration pour {nom_de_la_catégorie} Ambir ImageScan Pro 800ix series. Ambir ImageScan Pro 800ix series 15 pages. High-speed adf scanner installation and setup guide for mac
Également pour Ambir ImageScan Pro 800ix series : Manuel d'installation et de configuration (14 pages)

1. Plug the AC adapter into the scanner's power receptor.
2. Plug the other end of the AC adapter into a standard AC power outlet.
3. Plug the square end of the included USB cable to the USB port at the rear of the scanner.
4. Plug the rectangular end of the USB cable to an available USB port on your computer.
5. Switch the scanner ON using the scanner power switch. Wait until the number on the LED
on the display changes from 0 to 1.
6. When number 1 is displayed you are ready to start scanning.
Loading Documents
1. Load documents in the center of the ADF headfirst and face down. Ensure that the documents
are loaded all the way in and touch the bottom of the ADF feeder.
2. If needed, pull out the Paper Chute Extension and install the Stacker T ray by snapping the tray
guide pins into the holes in the bottom of the ADF .
3
