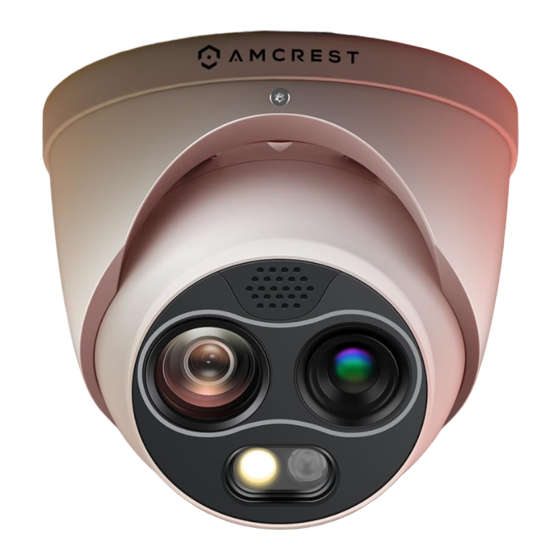
Amcrest TC-1241EW-AI Panduan Memulai Cepat - Halaman 4
Jelajahi secara online atau unduh pdf Panduan Memulai Cepat untuk Kamera Keamanan Amcrest TC-1241EW-AI. Amcrest TC-1241EW-AI 12 halaman.

1. Apply the installation sticker to the
mounting surface. Use a drill head to drill the
holes on the sticker and insert the wall
anchors. Please note, a 1" paddle bit can be
used to run any cabling through the surface.
3. Align the holes of the installation bracket to
the holes provided on the installation sticker
and wall anchors. Connect any wiring, apply
the installation bracket to the surface and
secure using the provided installation screws.
Place the turret cover over the camera.
Initialization
The camera can be accessed in a web browser using an IP address. The IP address for your
camera can be located using the Amcrest IP config tool, before locating the IP address, please
make sure the camera and the computer are on the same network. To download the Amcrest IP
config tool, please visit amcrest.com/downloads and download the IP config software.
After obtaining the IP address, the camera can be viewed using most mainstream web browsers,
such as Google Chrome, Firefox, Safari, Microsoft Edge, etc., however most thermal features will
require the use of a .exe plugin. For an optimal experience it is highly recommended to use
IE mode in Edge or other browser option that supports this function. Please ensure all
plugins are allowed and running before initialization is complete. To begin, enter the IP address
for your camera into the browser.
Enter the a unique password for the camera into the modify password menu and click Save. This
will be the password used to access your camera, the default username will be admin. Once the
password has been entered, you will be directed to the live view interface.
2. Use the included torx wrench to remove the
camera from the installation bracket.
4. Adjust the camera to a desired position and
use the torx wrench to secure the camera to
the installation bracket.
4
