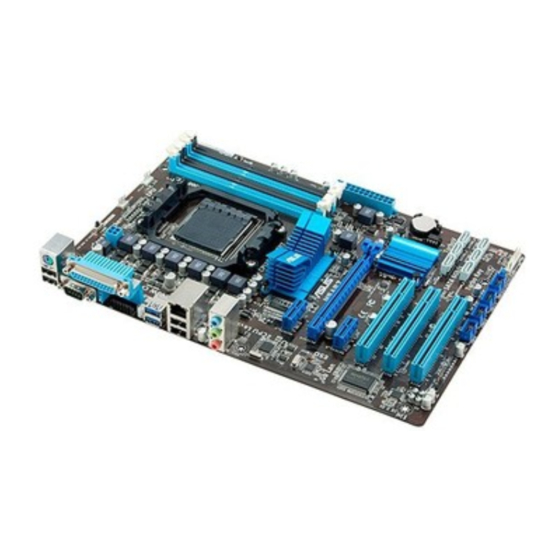
AMD 880G Panduan Pengguna - Halaman 9
Jelajahi secara online atau unduh pdf Panduan Pengguna untuk Motherboard AMD 880G. AMD 880G 20 halaman. M/b for amd socket am3+ series processor
Juga untuk AMD 880G: Panduan Pengguna (20 halaman), Panduan Pengguna (20 halaman)

(2) KB/USB Power on Function Enabled/Disabled: JP1
2-3 CPU Installation
2-3-1 About AMD AM3+ CPU Socket
This motherboard provides an AM3+ socket that supports compatible AMD
AM3/AM3+ processor.
The CPU that comes with the motherboard should have a cooling FAN attached to
prevent overheating. If this is not the case, then purchase a correct cooling FAN
before you turn on your system.
WARNING!
Be sure that there is sufficient air circulation across the processor's
heatsink and CPU cooling FAN is working correctly, otherwise it may
cause the processor and motherboard overheat and damage, you
may install an auxiliary cooling FAN, if necessary.
To install a CPU, first turn off your system and remove its cover. Then find Pin-1
(small triangle indicator) of the CPU and make sure to install it matched with Pin-1
(small triangle indicator) of the CPU socket. See to it that system is turned off and the
installation direction is correct. If the installation direction is wrong, CPU can not be
installed into the socket. In this case do not try to force it into the socket, but to change
to the correct direction.
2-3-2
CPU Installation Guide
1. Locate CPU socket.
JP1
1-2 Closed: KB/USB Power ON Disable (Default)
2. Find CPU socket
Pin-1(with small triangle
indicator).
6
JP1
2-3 Closed:
KB/USB Power ON Enabled
KB/USB Power On Setting
3. Find CPU Pin-1
(with small triangle
indicator).
