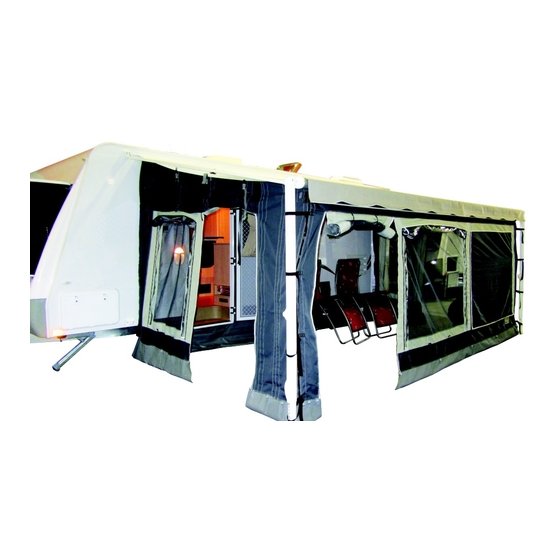
Coast to Coast Coast Awning Wall Kits Manual - Halaman 2
Jelajahi secara online atau unduh pdf Manual untuk Aksesori Mobil Coast to Coast Coast Awning Wall Kits. Coast to Coast Coast Awning Wall Kits 8 halaman. Coast awning wall kits

Sizes Available:
AWNING WALL KIT TO SUIT 12'ROLLOUT AWNING
150-03000
150-03020
AWNING WALL KIT TO SUIT 14' ROLLOUT AWNING
150-03040
AWNING WALL KIT TO SUIT 16' ROLLOUT AWNING
It is recommended to set the front roller tube height to
6'1" - 6'3" (1.86mt - 1.91mt) on the left and right side of
the awning (measuring from the bottom of the roller
tube to the ground)
Unpack your Awning Wall Kit and locate the front wall
panel—this has zips at both ends
It's now time to attach the front wall to the transition
piece
Make sure the flyscreen is facing you and clip the front
wall to the transition piece using the caribee clips
Once this is done, you can zipper the two pieces togeth-
er, creating a solid barrier against the elements
150-03060 AWNING WALL KIT TO SUIT 18' ROLLOUT AWNING
Patio Position
Step 2
Step 4
AWNING WALL KIT TO SUIT 13' ROLLOUT AWNING
150-03010
150-03030
AWNING WALL KIT TO SUIT 15' ROLLOUT AWNING
150-03050
AWNING WALL KIT TO SUIT 17' ROLLOUT AWNING
Rollout your awning to the patio position as shown
Take the pull-down strap out of the awning roller tube
Peg/ secure the awning legs to the ground
Your awning roller tube should be set at 6 'o clock, i.e. the
third grooved track is facing straight down
Front Wall
Unzip the transition piece from the front wall (this makes
threading it through the rope track on your roller tube
much easier)
With the zipper facing you, thread the transition piece
through the rope track
Ensure the transition piece is now positioned in the middle
of the roller tube. You can check this by measuring the
distance from the end of the transition piece to the end of
the roller tube on the right side. Once you have this meas-
urement, compare it to the left side.
Step 1
Step 3
