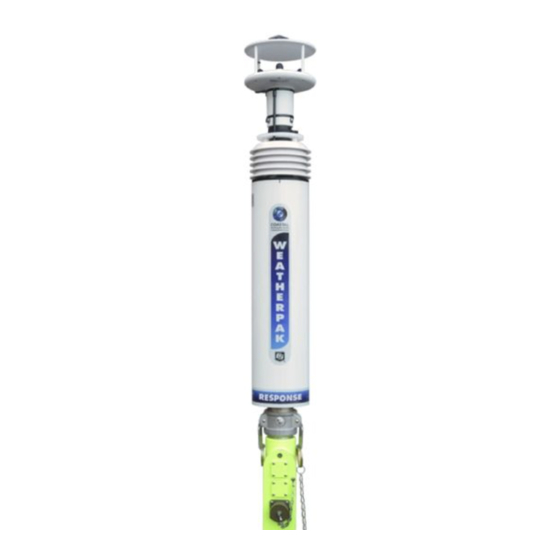
Coastal WEATHERPAK EOC Panduan Pengoperasian & Pemeliharaan - Halaman 16
Jelajahi secara online atau unduh pdf Panduan Pengoperasian & Pemeliharaan untuk Stasiun Cuaca Coastal WEATHERPAK EOC. Coastal WEATHERPAK EOC 17 halaman.

4.
COMPONENT REMOVAL AND INSTALLATION
PROCEDURES
4.1
Introduction
This section describes the removal and replacement (installation) procedures for primary
components.
4.2
Wind Sensor
4.2.1
Removal
a.
Note the location of the cable ties; two small ones on the wind sensor reflector plate
stanchion and two larger ones on the neck of the sensor. When a replacement sensor
is installed, cable ties will need to be installed in these locations.
b.
Cut the cable ties.
c.
Remove the three screws with washers at the base of the sensor then gently pull the
sensor straight up. Be careful not to pull too hard as you may damage the wire
harness for the sensor.
d.
Grasp the connector body and turn counterclockwise to remove it. You may need to
use pliers as the connector fits tightly to the sensor.
4.2.2
Installation
a.
Remove the new sensor from the box and remove the rubber safety cap from the
bottom connector of the sensor.
b.
Attach the WEATHERPAK
clockwise to lock in place.
c.
Carefully mount the sensor on the top plate assembly making sure the wire harness
does not get pinched. All of the wire harness should fit inside the neck of the top
plate.
d. Make sure the red arrow on the bottom of the sensor body points in the opposite
direction (North) of the notch (South) on the bottom connector of the
WEATHERPAK
P/N: 0302-117-004 Rev. 0
®
EOC connector to the bottom of the sensor and turn
®
EOC.
WEATHERPAK
Operations & Maintenance Manual
®
EOC
11
