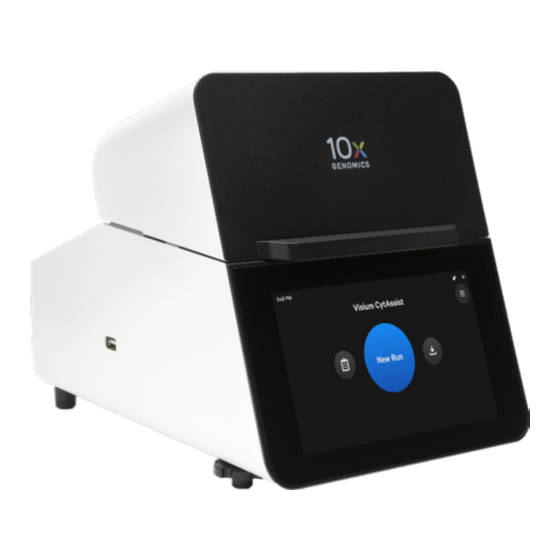
10x Genomics Visium CytAssist Referensi Cepat - Halaman 6
Jelajahi secara online atau unduh pdf Referensi Cepat untuk Peralatan Laboratorium 10x Genomics Visium CytAssist. 10x Genomics Visium CytAssist 8 halaman.

Visium CytAssist
Step 4: Main Operation
Main Operation Overview
This section is meant as a general overview of instrument
operation and its placement within the steps of the Visium
CytAssist Spatial Gene Expression assay. When performing
the protocol, follow the steps listed in the appropriate assay
kit user guide and use this section only as a reference.
Before proceeding with the appropriate Visium
CytAssist Spatial Gene Expression assay:
Select two tissue slides containing sections
of interest, and verify that the tissue section
is located in an area that results in successful
analyte transfer and imaging. Overlay the
slides on the diagrams in the Visium CytAssist
Quick Reference Cards – for Accessory Kit
Instruction (CG000548), located in the
Instrument Accessory Kit.
If only one tissue on one slide will be loaded,
use a blank slide for the second position on the
Tissue Slide Stage.
Follow the protocol in the appropriate assay kit
user guide for preliminary steps and preparation
prior to using the Visium CytAssist instrument.
a. Gather two tissue slides, a Visium CytAssist
Spatial Gene Expression slide and reagents as
listed in the appropriate assay kit user guide.
b. Enter new run information, including:
• Visium CytAssist Slide serial number
• Custom run name, temperature and time
(37 °C for 30 min is recommended for
most applications)
• Sample names; the 6.5 mm capture areas
are designated A1 and D1. The 11 mm
capture areas are designated A and B.
c. Open the lid.
d. Follow onscreen instruction and load the
blank slides and Calibration Slide onto the
instrument. See
Quick Reference Cards |
CG000543 | Rev A
Load Slides
section for details.
e. Load reagents to each spacer when instructed
in the appropriate assay kit user guide (be
mindful of time-sensitive reagents).
f. Close the lid.
g. The home screen will now display a play
symbol and run information along the
bottom of the screen. (Use button in upper
right corner of the screen to abort).
h. Press the play button to start the run.
i. At the end of a run, the button will display
"Done" and a "Run Info" tab at the bottom
of the screen.
• Green: a successfully completed run
• Red: a failed run/error
• Yellow: a canceled run
j. Click the "Done" button and open the lid.
DO NOT power off the instrument at this
time, as it needs to process Support Data.
k. IMMEDIATELY remove the Visium
CytAssist slide from the instrument, and
proceed with the protocol workflow as
specified in the appropriate assay kit user
guide (save cleanup for later).
During next stopping point in the workflow:
l. Clean the instrument after every run.
m. Export the Run Data via USB.
n. View and verify the tissue samples were
accurately aligned within the Visium
CytAssist Slide fiducial frame.
The instrument requires a ~20 min
cool down between runs.
10xgenomics.com
6
