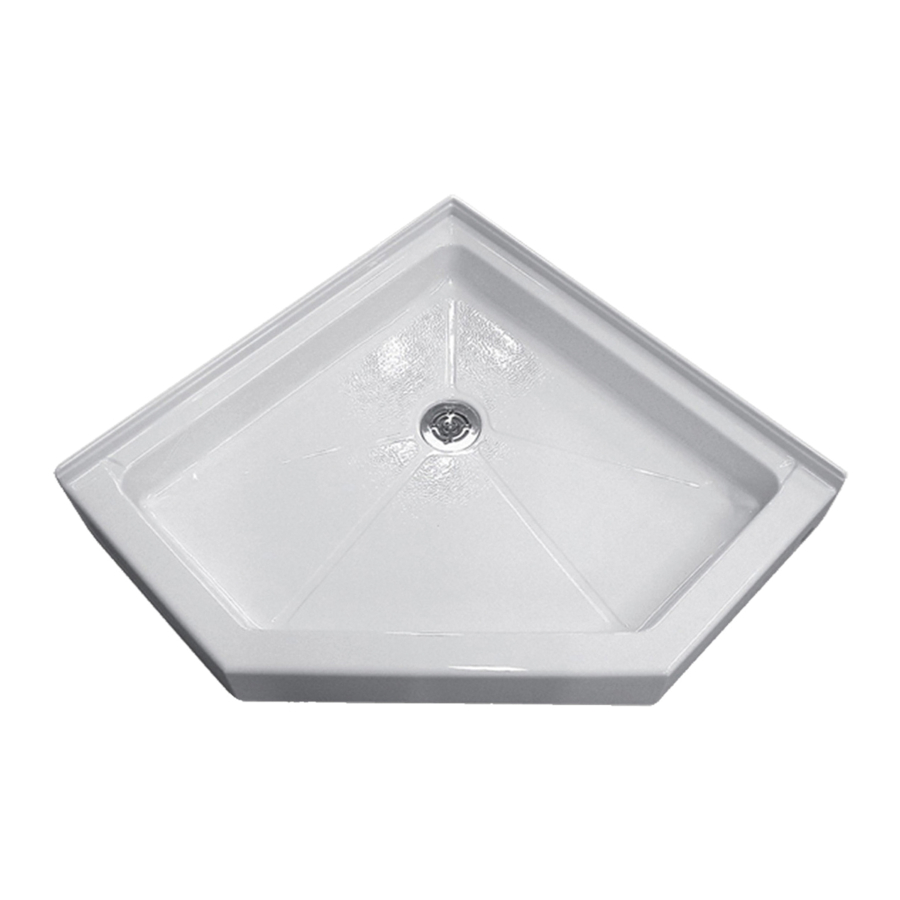
American Standard Town Square 3636.STTS Petunjuk Instalasi
Jelajahi secara online atau unduh pdf Petunjuk Instalasi untuk Perabotan Dalam Ruangan American Standard Town Square 3636.STTS. American Standard Town Square 3636.STTS 2 halaman. American standard town square acrylic shower base installation instructions

TOWN SQUARE
ACRYLIC SHOWER BASE
MODELS 3636.STTS, 3838.NEOTS, 4834.STTS
Thank you for selecting American-Standard...the benchmark
of fine quality for over 100 years.
To ensure that your installation proceeds smoothly--please
read these instructions carefully before you begin.
For alcove (.STTS models) installation only: The opening
dimensions should be 1/8" larger than dimensions shown.
NOTE: Read instructions completely before proceeding with installation.
3838.NEOTS
484mm
(19-1/16)
972mm
(38-1/4)
215mm
(8-7/16)
215mm
(8-7/16)
972mm
(38-1/4)
1
3838 NEOTS
Insure the floor and
stud walls are square
and plumb. Provide a
5" x 5" (127mm x
127mm) opening in
the floor for the drain
(see Figs. A & B). The
drain plug accom-
modates a 2" (51mm)
PVC waste pipe. The
waste pipe should
A
extend above the
surface of the sub-
3636.STTS, 4834.STTS
floor 3/8"
1/16".
Note: Variations in
levelness of subfloor
may require
adjustment of waste
pipe height. See
product drawings on
this page for the
specified drain
locations.
PVC Waste Pipe
B
3
After leveling base on subfloor, use base and mark
studs. This will be the installed height of shower base.
Mix the low-shrink bedding material (grout, mortar,
plaster, etc.). Concrete is not recommended. Apply
enough bedding material to support the entire bottom of
the shower base. The bedding material must not be
used under the apron (front edge).
4834.STTS
679mm
(26-3/4)
870mm
(34-1/4)
215mm
(8-7/16)
484mm
(19-1/16)
C/L
C/L
90
90
51 mm (2)
127mmx127mm
PVC Waste Pipe
(5x5) Opening
(See Product Chart for Drain Location)
90
90
51 mm (2)
127mmx127mm
C/L
(5x5) Opening
(See Product Chart for Drain Location)
Installation
Instructions
FRONT
610mm
(24)
1219mm
(48)
2
Before installing drain
into the shower base,
remove strainer (see Fig.
C). This will be installed
after shower base is in
its final position. Install
the drain to the shower
base as shown in Fig. D.
Use silicone sealant
between drain body and
shower base.
No Bedding
Under
Apron
Bedding
Material
D
Lift and lower base over center
E
of drain pipe and set into place
Certified to comply with ANSI Z124.2 1987.
Observe local plumbing and building codes.
3636.STTS
914mm
(36)
215mm
(8-7/16)
914mm
DRAIN
ASSEMBLY
Rubber
Caulking
Gasket
Drain
Body
Silicone
Sealant
Rubber
Gasket
C
Waterproof
Drywall
13mm (1/2")
minimum
Bedding Material Area
51 mm (2)
PVC Pipe
127 mm (5)
7 5 2 7 6 9 - 1 0 0
FRONT
457mm
(18)
(36)
Strainer
Shower
Base
Fiber
Gasket
Locking
Nut
3 mm
(1/8)
51x102 mm
(2x4) Stud Wall
