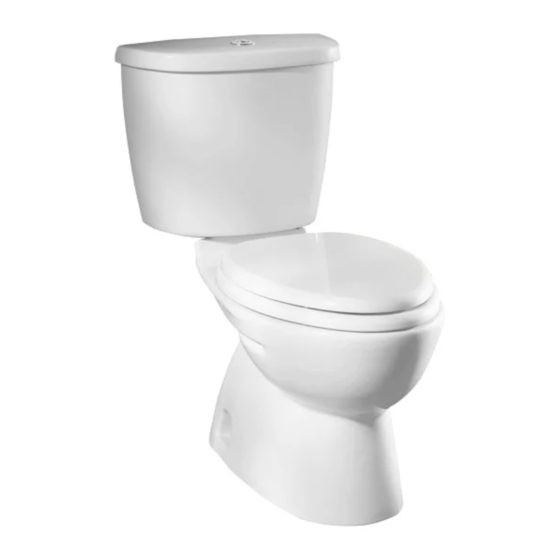
American Standard 2484 Petunjuk Instalasi - Halaman 4
Jelajahi secara online atau unduh pdf Petunjuk Instalasi untuk Toilet American Standard 2484. American Standard 2484 4 halaman. Dual flush 2-piece toilet
Juga untuk American Standard 2484: Petunjuk Instalasi Perawatan dan Pemeliharaan (13 halaman)

14
LIFT ARM
FIRST
IMPORTANT: Always clear
sand and rust from system.
• Make sure water supply is
off. Remove valve TOP by
lifting arm and rotating top
and arm 1/8 turn
counterclockwise, pressing
down slightly on cap.
Always use quality Fluidmaster repair parts when maintaining your Fluidmaster products. Fluidmaster shall
not be responsible or liable for any damages caused by products used with Fluidmaster valves that were
not manufactured by Fluidmaster, Inc.
PROBLEM
Does not flush
a. Water supply valve closed.
b. Supply line blocked.
c. Sand or debris lodged in water control.
Poor or sluggish flush
a. Bowl water level too low.
b. Supply valve partly closed.
c. Partially clogged trapway and/or drain pipe and/or vent.
d. Supply pressure too low.
Toilet leaks
a. Poor supply line connection.
b. Poor bowl to tank/floor connection.
Toilet does not shut off
a. Flush valve seat and/or rubber seal worn or deformed.
b. Sand or debris lodged in water control.
• While holding a container
• Replace TOP by engaging
over the uncapped VALVE
to prevent splashing, turn
water supply on and off a
few times. Leave water
supply off.
TROUBLESHOOTING GUIDE
POSSIBLE CAUSE
IF FILL VALVE SHUTS OFF BUT CONTINUES TO LEAK
SLOWLY, repeat Step 13.
IF FILL VALVE TURNS OFF AND ON DURING PERIODS OF
NON-USE, it is a signal you are wasting water because:
• The flush valve is leaking because it's worn, dirty or
IF FILL VALVE WON'T TURN ON OR SHUT OFF or REFILL OF
TANK WATER IS SLOW after valve has been in use for some
time, Fluidmaster Model 242 Replacement Seal may be needed.
Go to our website at www.fluidmaster.com for more solutions
to toilet problems.
For troubleshooting information please contact:
lugs and rotating 1/8 turn
clockwise. MAKE CERTAIN
TIP IS TURNED TO THE
LOCKED POSITION. VALVE
MAY NOT TURN ON IF TOP
IS NOT FULLY TURNED TO
THE LOCKED POSITION.
a. Open valve and allow water to fill tank.
b. Shut off water supply, disconnect supply line and inspect all gaskets and
washers. Reassemble. Also, see Fluidmaster maintenance. (see Step 14)
c. Shut off water supply. Remove cap and clean as per Step 14.
a. Check that water level is set to correct height in tank, also verify the flush
valve adjustments are set as per Step 10.
b. Open supply valve fully. Be sure that proper supply tube size is used.
c. Remove obstruction. Consult a plumber if necessary.
d. Normal supply pressure must be at least 20 psi.
a. Review Step 9 of installation procedure.
b. Review Step 4 through 7 of installation procedure.
a. Shut off water supply. Replace flush valve or flush valve silicone seal.
b. Shut off water supply. Remove cap and clean per Step 14.
- 4 -
TROUBLESHOOTING
misaligned with tank ball or flapper (replace with a new flapper).
30800 Rancho Viejo Road
San Juan Capistrano, CA 92675
(949) 728-2000 (800) 631-2011
www.fluidmaster.com
© 2001 Fluidmaster, Inc.
® Registered trademark of Fluidmaster, Inc.
CORRECTIVE ACTION
7 3 0 1 1 4 4 - 1 0 0 R e v. H
