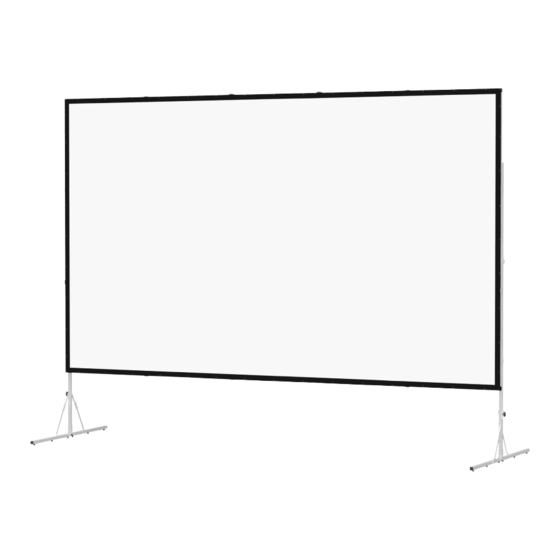
Da-Lite Fast-Fold Manual Petunjuk Perakitan
Jelajahi secara online atau unduh pdf Manual Petunjuk Perakitan untuk Aksesori Proyektor Da-Lite Fast-Fold. Da-Lite Fast-Fold 16 halaman. Truss frame
Juga untuk Da-Lite Fast-Fold: Buku Instruksi (8 halaman), Buku Instruksi (4 halaman)

Da-Lite: Selecting The Right Screen
http://www.dalite.com/educational_materials/selecting1.php
Da-Lite
>
Educational Materials
Da-Lite offers a wide array of screens each with a choice of projection surfaces. Selecting
the right combination to meet your needs is important for optimum results. The following
pages offer guidelines for selecting a screen that suits your application. Although these
recommendations will work in most situations, each must be looked at not as a strict rule,
but rather as a guideline for determining your actual needs based on your own situation.
For additional help in selecting screens, contact Da-Lite for the free publications
"Selecting Front Projection Screens for Today's Presentation Media Applications" or
"Selecting Rear Projection Screens for Today's Presentation Applications". Of course, your
Da-Lite Sales Partner is also happy to assist you.
Four Steps to the Right Screen
1. Pick the type screen that best suits your particular needs. For example, choose from
front projection or rear projection screens in either portable, wall or ceiling mounted
models in either manual or electric versions or rear projection. Generally, if your
projection application is permanent, then wall and ceiling screens are your best choice. If,
however, you find your needs require moving the screen to different locations, then a
portable screen is a better alternative.
2. Determine the optimum screen size based on room dimensions, planned audience
seating size and arrangement. The rule of thumb is to fit the screen to the audience - not
to the projector. Da-Lite recommends the following formula for determining screen size:
Screen height should be approximately equal to 1/6 the distance from the screen
to the last row of seats, allowing text to be read and detail to be seen in the
projected image.
The bottom of the screen should be a minimum of 4 feet above the audience floor,
allowing those seated toward the rear of the audience to see the screen. This may
require additional screen "drop" for ceiling hung screens.
3. Select the appropriate format for your projection application. Common formats are as
follows:
Common
Applications
NTSC Video
PAL Video
HDTV Video
Letterbox Video
Cinemascope
35 MM Filmstrip
2x2 Standard 35MM Double-Frame Slides
4. Choose the screen surface that best suits your projection and viewing requirements.
For your convenience, the front and rear projection pages provide descriptions and
performance characteristics for each front and rear screen surface. If the screen will be
used for multiple projection methods, choose the screen surface that meets the
requirements of the lesser performing projection method. For example, if using a slide
projector and a video projector, choose the screen surface for the video projector since its
light output is generally less than a slide projector.
Front Projection Screen Surfaces
Rear Projection Screen Surfaces
> Selecting The Right Screen
Aspect Ratio
Width/Height
1.33
1.33
1.78
1.85
2.35
1.32
1.50
