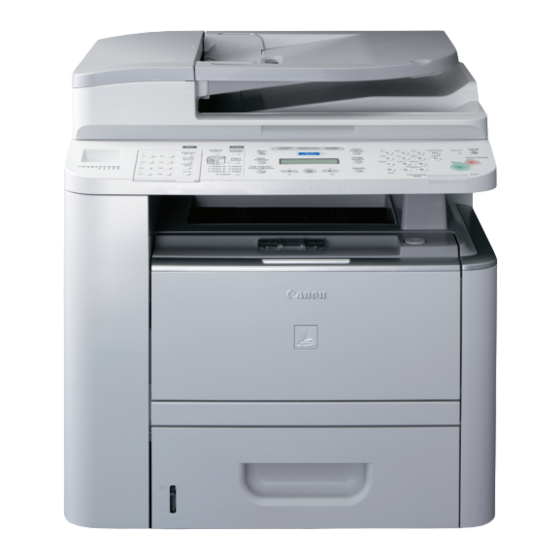
Canon imageCLASS D1120 Panduan Pengguna - Halaman 9
Jelajahi secara online atau unduh pdf Panduan Pengguna untuk Semua dalam Satu Printer Canon imageCLASS D1120. Canon imageCLASS D1120 36 halaman. Canon imageclass d1120: user guide

Connect Power Cord and Turn On the Machine
1
Connect the power cord into the rear socket on
the back side of the machine and the wall
outlet, and press the [I] side of the main power
switch (A) to turn ON.
–
Do not connect the machine and the computer with a
USB cable at this time. Connect the machine and the
computer with a USB cable only during the software
installation procedure. (A USB cable is not used when the
machine is used via a network connection.)
–
If you want to use the optional paper cassette, attach the
Cassette Feeding Unit-U1 to the machine before turning
ON the machine. (For instructions on how to attach the
CASSETTE FEEDING UNIT-U1, see the instruction sheet
that comes with the Cassette Feeding Unit-U1.)
2
<DISPLAY LANGUAGE> appears, press
to select the language, and press [OK].
D I S P L A Y
L A N G U A G E
E N G L I S H
If you want to change the display language at a later time,
[Menu] → <2. COMMON SETTINGS> → <6. DISPLAY
press
LANGUAGE>, then select the language.
3
<COUNTRY/REGION> appears, press
to select the country, and press [OK].
C O U N T R Y / R E G I O N
U N I T E D
–
Make sure that the country/region is selected correctly. If
not, sending/receiving faxes may not work properly.
–
For imageCLASS D1180/D1170/D1150, it is possible to
change the country/region at a later time. To change the
country/region, press
SETTINGS> → <6. COMMUNICATIONS> → <1. COUNTRY/
REGION>, then select the country/region.
4
The machine enters the standby mode.
1 0 0 %
The display returns to the standby mode:
●
The machine may enter the standby mode (Auto Clear function) while you are
setting it up. Make the setting again from the main menu.
The display turned OFF:
●
The machine may enter the Sleep mode while you are performing setup. Press
[Energy Saver] to turn the display back ON and continue the setup.
<SET TONER AGAIN> is displayed:
●
Check the installation of the toner cartridge and the placement of the paper.
(See Unpacking Instruction Sheet and "Set Up Paper Cassette and Load Paper, "
on p. 4.)
<TONER COVER OPEN/CLOSE COVER> is displayed:
●
or
Make sure that the front cover and scanning platform are closed properly. (See
Unpacking Instruction Sheet.)
2 Set Up the Machine
S T A T E
[Menu] → <10. SYSTEM
L T R
0 1
T E X T / P H O T O
or
7
