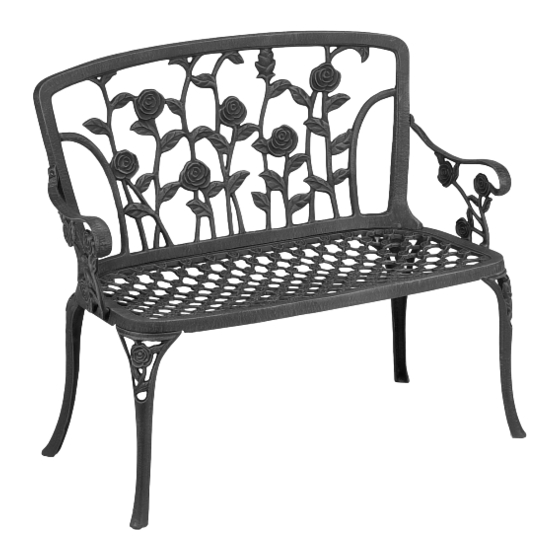
Astonica 50105254 Buku Petunjuk - Halaman 2
Jelajahi secara online atau unduh pdf Buku Petunjuk untuk Perabotan Dalam Ruangan Astonica 50105254. Astonica 50105254 2 halaman. Cast aluminum garden bench

PARTS & HARDWARE LIST
PART #
DESCRIPTION
A
Backrest
Seat
B
C
Leg
D
Armrest
E
6mm x 30mm Thread Hanger Bolt
F
6mm x 40mm Thread Hanger Bolt
G
6mm Washer
6mm Hex Nut
H
I
13mm x 6mm Screw
4mm x 26mm Screw
J
K
4mm Hex Nut
4mm Washer
L
A
D
E
F
G
Carefully remove the contents from the package.
If any parts are missing do not attempt to use the product until
they have been obtained and correctly installed.
IF YOU HAVE ANY PROBLEMS OR QUESTIONS CONCERNING THIS PRODUCT,
DO NOT RETURN IT TO YOUR RETAILER. CONTACT CUSTOMER SERVICE AT
1-888-422-7800.
Caution: Do not over tighten fasteners.
QUANTITY
1
1
4
2
8
4
12
12
2
4
4
4
B
C
H
I
J
K
L
ASSEMBLY INSTRUCTIONS
1. (
) Insert the studs (E) into the bottom
FIGURE 1
of the backrest (A) and tighten until snug.
Position studs (E) through holes in seat base
(B) and attach washers (G) and nuts (H)
(leave loose).
2. (
) Insert studs (F) into bottom of seat
FIGURE 2
base (B) and tighten until snug. Position the
legs (C) over studs (F) and attach with
washers (G) and nuts (H)(leave loose).
Repeat for the remaining 3 legs legs.
3. (
)Attach an armrest (D) to seat (B)
FIGURE 3
With screws (I) washers (G) and (H).
Attach The armrest (D) to backrest (A) with
screw (J).
Repeat for the second armrest (D) on other
side.
4. (
) Place upright on a level surface.
FIGURE 4
Tighten armrest first, seat back second
and the legs last.
Caution: Do not over tighten fasteners.
Minor rocking will settle with use.
FIGURE 1
A
E
E
E
E
B
G
G
G
G
H
H
H
H
FIGURE 2
B
F
F
G
G
H
H
FIGURE 3
A
J
D
B
I
G
H
FIGURE 4
