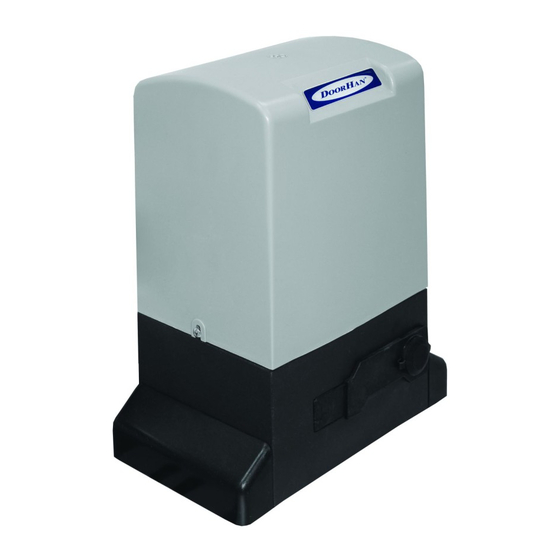
DoorHan SLIDING-1300 Panduan Instalasi dan Pengoperasian - Halaman 8
Jelajahi secara online atau unduh pdf Panduan Instalasi dan Pengoperasian untuk Pembuka Gerbang DoorHan SLIDING-1300. DoorHan SLIDING-1300 12 halaman. Drive
Juga untuk DoorHan SLIDING-1300: Panduan Instalasi dan Pengoperasian (16 halaman), Panduan Instalasi dan Pengoperasian (12 halaman)

4.5. Installation of gear rack on third-party door
1. Move the leaf manually in one of its extreme positions.
2. Put the first part of the rack on the gear and install the collar between the rack and the door so that they coincide with the
upper part of the slot.
3. Mark the drilling point on the door. Drill a hole of 6.5 mm and cut the thread using a tap M8. Tighten the bolt.
4. Move the leaf manually so that the rack remains on the gear and repeat step 3.
5. Attach another rack element against the previous one. Align the teeth of these two elements using free rack. Move the door
manually and perform all operations in the same way as for the first element. Repeated as long as the door is not completely
overlapped by racks.
Installation notes for the rack
1. Never weld the racks to the collars or to each other.
2. Check that the door can reach mechanical stops, and there is no friction while moving the door.
3. Do not lubricate any rack or gear.
4.6. Placement of limit switches plates
Sliding-1300/2100 drive is equipped with ferreed
contacts (magnetic reed switches) that are responsive
to the movement of magnet attached to the rack and
generate a command to stop the door.
Install the limit magnets as follows.
1. Release the drive (see sec. "Release mechanism
operation").
2. Move the door manually to the opened position with
2-5 cm to the mechanical stop
3. Move the magnet of limit switch to open (triangular blue sticker) along the rack in the direction of door opening until magnetic
reed switch is OFF. This can be seen by looking at the corresponding LED on the control board (see sec. "Control unit LEDs").
Slide the magnet in the same direction for approximately 2-3 cm and secure it to the rack.
4. Move the door to the closed position with 2-5 cm to the mechanical stop.
5. Move the magnet of limit switch to close (round red sticker) along the rack in the direction of door closing until magnetic reed
switch is OFF. This can be seen at the appropriate LED on the control board (see sec. "Control unit LEDs"). Slide the magnet
in the same direction for approximately 2-3 cm and secure it to the rack.
6. Move the door to the middle position and lock the drive (see sec. "Release mechanism operation").
7. Provide at least 2 cm gap from the door to the mechanical stop in the extreme opened and closed positions to ensure quality
operation of the system.
8. Run several complete cycles of operation and verify the installation of limit switches. The drive shall stop upon reaching the
limit switch with the corresponding LED goes out. SW1— LED for switch to close. SE2 — LED for switch to open.
9. Distance from the limit switch to limit switch magnet shall be not more than 5 mm.
WARNING! Upon adjustment of limit positions, make sure of normal operation of limit switches: the corresponding LED
on the control unit shall go out upon response. If the light does not go out, repeat the adjustment.
8
Door leaf
Полотно ворот
Gear rack
Зубчатая рейка
Installation base
Монтажное основание
blue
синий
Limit switch to open
DRIVE ASSEMBLY
red
красный
Limit switch to close
