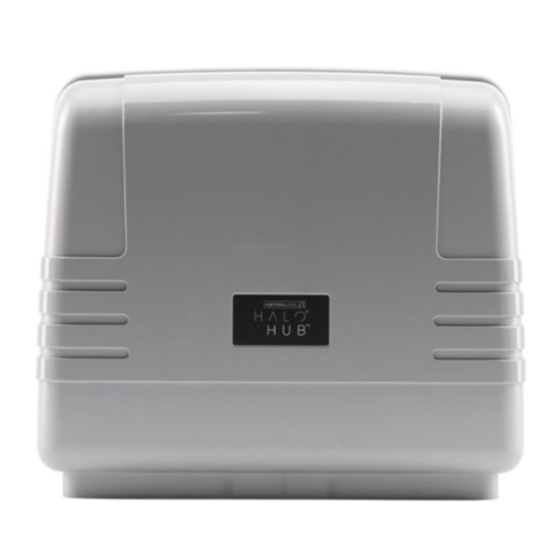
Astralpool HALO HUB Panduan Instalasi - Halaman 11
Jelajahi secara online atau unduh pdf Panduan Instalasi untuk Peralatan Pencahayaan Astralpool HALO HUB. Astralpool HALO HUB 12 halaman. Automation expansion module

HALO
®
HUB
™
Installation Manual
9.2
Appendix 2:
Input 1 & 2 and relay 1 control through the
"Automation" connector
The "Automation" connector is used to allow a home
automation system or manual switches to control the
chlorinator system.
The automation connector consists of two switchable
inputs as well as a low voltage relay output. The inputs
are both controlled as "Favourites" and the relay output
can either be coupled to a "Favourite" or used as a
general output on the Halo Chlor.
The 2 inputs can be assigned to any active favourite.
Typically, one of the inputs would be assigned to a
commonly used favourite e.g., "Spa at Night" and then
the other input would be used to return the system to
auto mode through the "All Auto" favourite.
The relay output can also be linked to a favourite as
an output. An example of this, you could nominate
the relay to be active in "All Auto", so that a home
automation system knows that the pool system is in
auto mode. Alternatively, you could use the relay to be
active during a favourite such as "Spa at Night". In this
scenario, the relay could signal the home automation
system to dim the outside lights, etc.
The relay can also be used as a general output to
drive other equipment (rather than being linked to a
favourite). When used in this mode, the relay can be
operated manually under the "Others" page in the top
ribbon and can also be assigned to a timer.
Prior to setting up the automation inputs and relay,
the hub needs to be installed on the system and
favourites need to be setup on the Halo Chlor. To
commence the installation, press "Settings/Install"
and then in "Equipment Configuration", press "Add/
Remove" and then select "Halo Hub". Press "Edit" to
edit the configuration and then "Next" to get to the
valves and Inputs screen. On this screen you can set
the relay ("Relay 1") and inputs ("Input 1 and Input 2")
to be enabled (green) or disabled (red). (Press OK to
save and exit.)
The relay and inputs then needs to be configured
using "Settings/Install" and then in "Equipment
Configuration", pressing "Configure" and then "Valves/
Relays/Inputs".
On this screen, you can then choose which favourites
are activated by the inputs. Also on this screen, you
can choose if you want the automation relay (Relay 1)
to switch on momentarily when activated, or to turn
from off to on when activated.
Figure 5.
The 2 inputs require a momentary signal (switch) of at
least 0.5 seconds.
11
