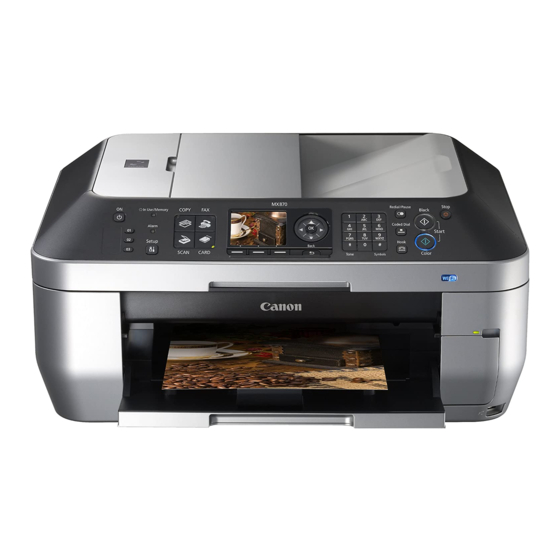
Thank you for purchasing the Canon PIXMA MP180/MP160. To prepare your machine for use, please follow
these Easy Setup Instructions before referring to any other documentation.
IMPORTANT
Do not connect the USB cable until after the software is installed. See the reverse side of this sheet for
details.
1
Carefully remove all items from the box.
2
Check the package contents.
• See the flapped lid of the packing box.
3
Place the machine on a flat surface.
4
Remove all shipping tape and the protective sheet.
5
Open the Scanning Unit and remove the protective material (A).
(A)
• Be sure to hold the machine by the side. Do not lift the machine by grasping the Paper Support Extension
or the Operation Panel.
1
Connect the power cord.
2
Press [ON/OFF] to turn
ON the machine.
3
Use [
] or [
] on the
Operation Panel to select the language on the LCD, then press [OK]. (MP180)
• The language setting is only available for some countries.
• If you have an undesired language selection, refer to the User's Guide.
1
Lift the Scanning Unit and pull the Scanning Unit Support down into place.
IMPORTANT (US only)
• Write down the serial number. You will need this to register the product.
2
Prepare the FINE Cartridges.
3
Insert the FINE Cartridges.
B
4
Close the Scanning Unit.
• Lift the Scanning Unit to put the Scanning Unit Support back to its original position.
1
Open the Paper Support (1) and pull up the Paper Support Extension (2) until
it stops.
2
Load the paper with the print side face up.
• Ensure the paper stack does not exceed the Load Limit Mark (A).
3
Pinch and adjust the Paper Guide (3) to the width of the stack.
4
Open the Paper Output Tray.
The cartridge
moves to the left.
Install the FINE
Cartridges here.
The hardware setup is complete.
If you are connecting the machine to a computer for use, see the reverse side for instructions on
installing the software.
© 2006 Canon Inc.
All products and brand names are registered trademarks or trademarks of their respective owners.
Specifications subject to change without notice.
QT5-0542-V01
Remove the protective tape.
IMPORTANT
Wait until the preparatory operation is complete; this takes about one to two minutes.
(1)
(2)
xxxxxxx
© CANON INC. 2006
Do not touch!
C
(3)
(A)
PRINTED IN VIETNAM

