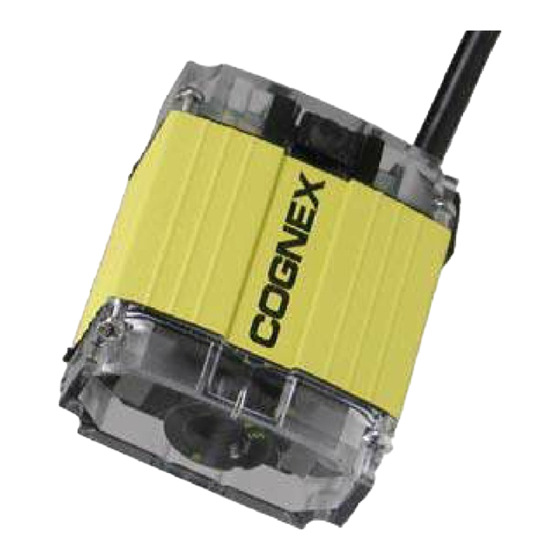
Cognex DataMan 100 Panduan Referensi Cepat - Halaman 11
Jelajahi secara online atau unduh pdf Panduan Referensi Cepat untuk Pembaca kode batang Cognex DataMan 100. Cognex DataMan 100 18 halaman. Shd/c-mount kit removal instructions
Juga untuk Cognex DataMan 100: Petunjuk Penghapusan (2 halaman), Referensi Cepat (16 halaman)
- 1. Getting Started
- 2. Setting up Your Dataman
- 3. Reference Information
- 4. Troubleshooting
- 5. Universal Mounting Bracket
- 6. Usb Connections
- 7. Output Wiring Example
- 8. Input Wiring Example
- 9. Training and Trigger Modes
- 10. Results Display
- 11. System Settings
- 12. Digital Output Wiring
- 13. Digital Input Wiring
- 14. Warnings and Notices
DataMan 100 Trigger Types
DataMan decodes when you tell it to. You can trigger a read by
4
1
Pressing and holding the trigger
button.
Sending a pulse on Input-0 line.
2
Sending a command on
3
the RS-232 serial line. (You
must be using the RS-232
communications type.
Clicking the
Trigger button in
the Setup tool.
DataMan 100 Trigger Modes
DataMan supports three trigger modes. The trigger mode determines what
happens when a trigger signal is received.
1
In Single Trigger Mode, DataMan 100 acquires and
attempts to decode an image as soon as the trigger is
received. You can use the setup tool to define a trigger
delay.
2
In Presentation Mode, continuously scans for and
attempts to decode symbols. Whenever a symbol is present
in the field of view, DataMan 100 decodes it. You can specify
a latency period between read attempts, and you can
configure the DataMan 100 to not decode the same code
multiple times using the setup tool.
3
In Manual Trigger Mode, DataMan continuously acquires
and attempts to decode images as long as the trigger button
is held down.