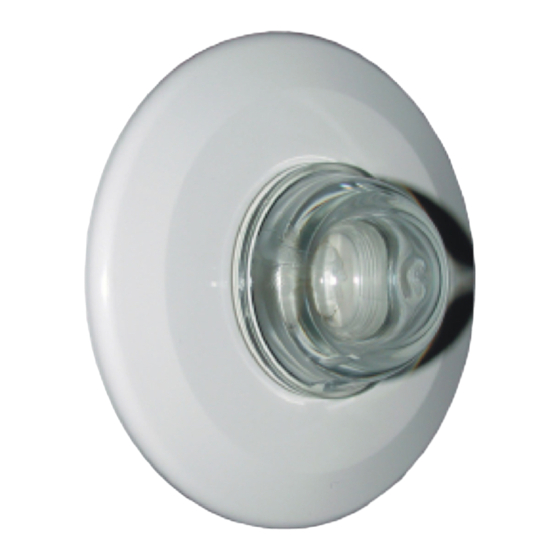
Astrapool 25390 Panduan Instalasi dan Pemeliharaan - Halaman 2
Jelajahi secara online atau unduh pdf Panduan Instalasi dan Pemeliharaan untuk Peralatan Pencahayaan Astrapool 25390. Astrapool 25390 8 halaman. Underwater projector for fibre optics

ENGLISH
IMPORTANT: The instruction manual you are holding includes essential information on the safety measures
to be implemented for installation and start-up. Therefore, the installer as well as the user must read the
instructions before beginning installation
In order to achieve optimum performance of the Underwater light, we recommend that you follow the
instructions below:
1. CHECK THE PACKAGING:
Inside the box, you will find the following components.
· Projector body
· Trim cover
2. GENERAL CHARACTERISTICS:
Projectors for concrete swimming pools, manufactured in plastic and designed for use both outdoors and
totally submerged in fresh water swimming pools.
The concave lens provides a larger light beam opening angle than the flat lens.
3. INSTALLATION:
In ordr to prevent glare, the floodlamps should be installed so that they face away from
residence or usual view of the swimming pool.
In the event that lighting is used in training or competition pools, the floodlamps should be
installed on the sides to prevent glare on the swimmers.
The projectors should be placed on the wall of the pool at about 200-300 mm. under the water
level
Whatever the assembly method used, ensure that the unit is properly sealed to avoid water from entering the
projector
4. ASSEMBLY:
Placing the projector 25389 in a concrete swimming pool
Glue the inside of the projector to a ∅50mm pipe or screw the projector into a bushing with a 2'
thread, model 15658 or 15659. (Fig. 1)
Placing the projector 25390 in a concrete swimming pool
Glue the projector inside a Ø63 PN6 pipe or glue the projector in a Ø63 bushing, model 15660 or 15661.
(Fig. 2)
Once the body of the projector has been assembled, insert the cable with the centering device (not supplied)
and place the lens with the O-ring using the spanner code 18413 according to figures 3 and 4.
5. SAFETY WARNINGS:
⋅ The persons who are in charge of assembly should have the required qualifications for this
type of work
⋅ Comply with the current standards regarding accident prevention.
⋅ The manufacturer is not responsible in any circumstances for assembly, installation or start-
up of any electric components which have been inserted or handled at locations other than
its own premises.
· Concave lens
· Flat lens
· Lens O-ring
