Astrel Instruments AST492 Memulai - Halaman 5
Jelajahi secara online atau unduh pdf Memulai untuk Kamera Digital Astrel Instruments AST492. Astrel Instruments AST492 11 halaman.

Astrel Instruments
Powering up the camera for the first time
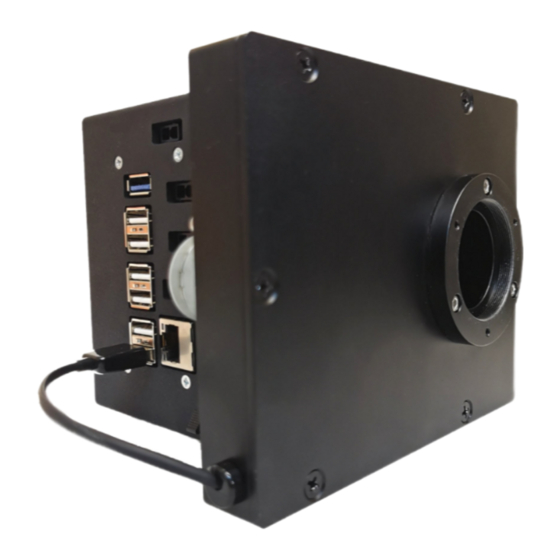
First of all, connect the short USB cable to the filter wheel connector (see Fig. 1) and to USB
port 5 on the camera. Connect the power cable to the 12V power in connector on the camera
and to the power supplier, then connect the power supplier to a power plug: the camera's
internal PC boots the Windows 10 operating system. No HDMI or other monitor connections are
available on the camera: the desktop shall be accessed through the Remote Desktop
application available on every Windows PC. First of all, connect the camera to the PC using the
included Ethernet cable and open remote desktop on your PC (allow 40s / 1min fo the camera
to complete the boot process before attempting to connect).
In the Remote Desktop application, insert 10.42.0.11 as address, astro as username and
astronomy as password, then click connect to access the camera. After the connection is
established, you will be presented the AST492 desktop, which is a standard Windows 10
desktop, exactly like any other PC.
The following applications come preinstalled on the camera:
1) ASCOM platform
2) ASCOM drivers for AST492 camera and filterwheel
3) APT (Astro Photography Tool), a very well known astrophotography software, that can be
used to take pictures with the camera and control all your equipment
To test the correct behavior of the camera, start APT using the icon on the desktop. APT should
Getting Started
Figure 2: The AST492 Windows 10 desktop
5/11
AST492
rev A
