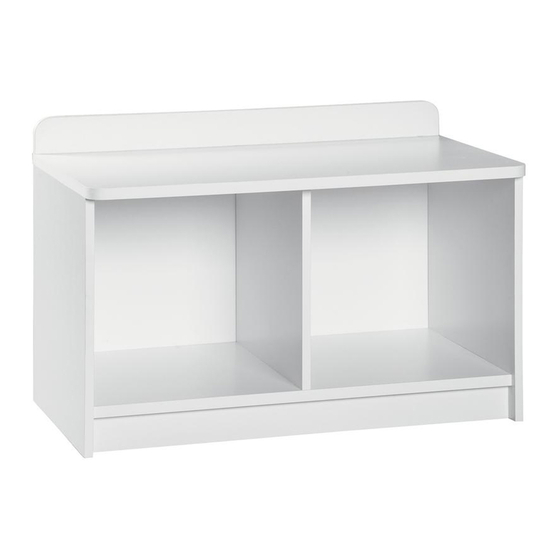
AMES CLOSETMAID Manual - Halaman 6
Jelajahi secara online atau unduh pdf Manual untuk Perabotan Dalam Ruangan AMES CLOSETMAID. AMES CLOSETMAID 11 halaman. Mini bench
Juga untuk AMES CLOSETMAID: Manual (14 halaman)

2
22x
22x
RIGHT SIDE PANEL
PANNEAU LATÉRAL DE DROITE
PANEL LATERAL DERECHO
NOTE:
•
Apply a bead of glue in each groove (the entire length)
of right side panel. Attach the top shelf (C), fixed
shelves (E) and kick plates (G) at each location shown
using screws.
•
Attach both kick plates to the right side panel.
•
Apply a bead of glue inside the entire length of each
groove in the left side panel.
•
Attach the left side panel to the top shelf, fixed shelves
and kick plates.
•
Cover all screw heads with a screw covers.
©2020 The AMES Companies, Inc | Orlando, FL 32827 | 1-800-874-0008 | www.closetmaid.com | www.closetmaid.ca
22x
TOP SHELF WITH HOLES
ÉTAGÈRE SUPÉRIEURE AVEC
TROUS
REPISA SUPERIOR CON
AGUJEROS
C
E
A
REMARQUE :
•
Appliquer un peu de colle dans chaque rainure (sur
toute la longueur) du panneau latéral de droite. Fixer
l'étagère supérieure (C) et les étagères fixes (E) à
chaque emplacement illustré, à l'aide de vis.
•
Fixer les deux garde-pieds au panneau latéral de droite.
•
Appliquer un peu de colle à l'intérieur de chaque rainure
(sur toute la longueur) du panneau latéral de gauche.
•
Fixer le panneau latéral de gauche aux étagères fixes
et garde-pieds.
•
Recouvrir toutes les têtes de vis à l'aide d'un capuchon
de vis.
LEFT SIDE PANEL
PANNEAU LATÉRAL
DE GAUCHE
PANEL LATERAL
IZQUIERDO
A
E
G
G
NOTA:
•
Aplique una gota de pegamento en cada
ranura (a todo lo largo) del panel lateral derecho. Fije
la repisa superior (C) y las repisas fijas (E) a cada
ubicación indicada usando tornillos.
•
Fije las dos placas inferiores al panel lateral derecho.
•
Aplique una gota de pegamento en todo lo largo de
cada ranura en el panel lateral izquierdo.
•
Fije el panel lateral izquierdo a las repisas fijas y placas
inferiores.
•
Cubra todas las cabezas de tornillos con un tapón de
tornillo.
2x
6
