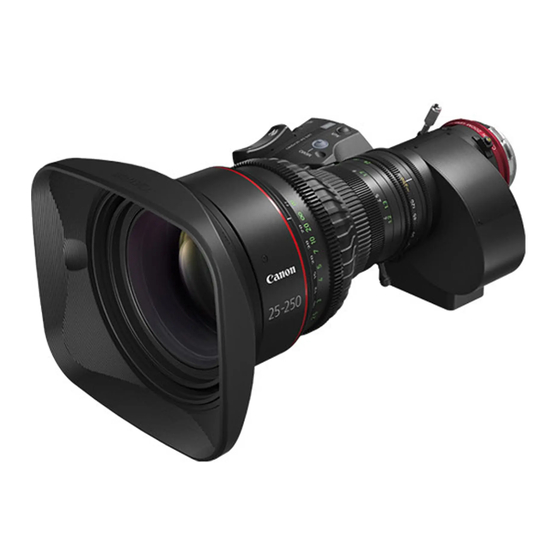
Canon CN7x17 KAS S/P1 Panduan Pengoperasian - Halaman 30
Jelajahi secara online atau unduh pdf Panduan Pengoperasian untuk Lensa Kamera Canon CN7x17 KAS S/P1. Canon CN7x17 KAS S/P1 34 halaman. Zoom lens
Juga untuk Canon CN7x17 KAS S/P1: Panduan Pengguna (31 halaman)

- 1. Fcc Regulations
- 2. General Safety Information
- 3. Handling the Product
- 4. Maintenance and Inspection
- 5. How to Mount
- 6. Available Accessories
- 7. Dimensions of Parts
- 8. Iris Gain Adjustment
- 9. Mode Setting
- 10. Zoom Operation
- 11. Focus Operation
- 12. Iris Operation
- 13. Extender Operation
- 14. Macro Operation
- 15. Switch Operations
- 16. Product Specifications
6 HOW TO ATTACH AND DETACH THE DRIVE UNIT
6-3. AUTOMATIC ADJUSTMENT OF THE MECHANICAL END
Automatically adjust the mechanical end of the zoom, focus and iris of the lens body and drive unit.
Perform this adjustment if the drive unit is detached and reattached on the lens body again.
Zoom Operation Change-over Knob
FOCUS
MANU. SERVO
REMOTE1
REMOTE2/
VIRTUAL
Focus Operation Change-over Knob
Initial top screen
MENU
Fr1P
A
Shtl
A 1
Fr1P
A 2
Screen A
MENU
Fr1P
A
Shtl
A 1
Fr1P
A 2
Lens
AutoAdjust
OK?
Auto-Adjustment:
Succeeded
Lens Interface:
Connected
NOTE
If "Auto-Adjustment: Error/Lens Interface: Non-Connected" appears when the mechanical end
adjustment is completed, contact Canon Inc. or Canon distributers & sales representatives.
ZOOM
MANU.
SERVO
REMOTE3
IG: 50
[Adj]
[Trk]OFF
[I-Tq]H
1
Press the
IG: 50
[Adj]
[Trk]OFF
[I-Tq]H
2
Press the
y/n
3
Press the
Set the zoom/focus operation change-over knob on the
bottom of the drive unit to SERVO position before starting the
automatic adjustment of the mechanical end.
Perform the following operation on the display and perform
the automatic adjustment of the mechanical end. Do not touch
operation rings, such as focus drive gear and drive gear during
the automatic adjustment.
key and then press the
[Adj] is highlighted.
key.
Set
The screen changes to the mechanical end adjustment screen.
key and press the
Adjustment begins.
The screen flashes during adjustment.
The adjustment is completed.
Set
When
is pressed after the adjustment ends, the screen A returns.
E24
key.
key.
Set
