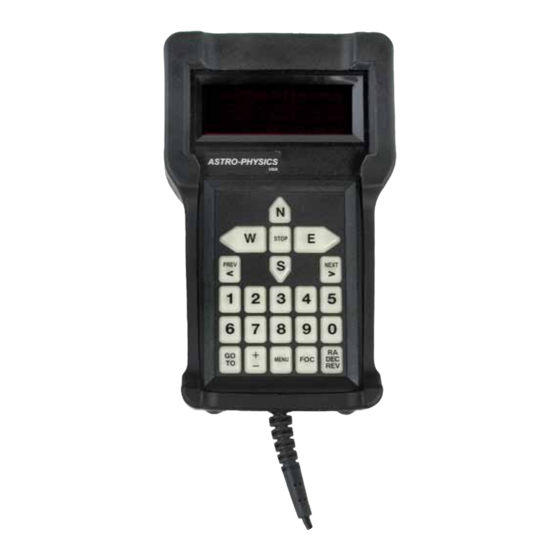
ASTRO-PHYSICS 1568GTO Panduan Petunjuk Pemeliharaan - Halaman 11
Jelajahi secara online atau unduh pdf Panduan Petunjuk Pemeliharaan untuk Papan tombol ASTRO-PHYSICS 1568GTO. ASTRO-PHYSICS 1568GTO 17 halaman.

that you do not bend this outward...it would lose its tension. the drawing shown is a cross section view of the battery
in its carrier. the challenge is to get the battery up over the little lip that goes around the access side of the battery
carrier without bending the clip up.
4. Work the smaller (2 mm) screwdriver into the tiny gap between
the back of the carrier and the battery. When you have sufficient-
ly enlarged the small gap, place the larger screwdriver into the
gap and remove the smaller screwdriver. Work the small screw-
driver underneath the battery just enough to help it over the lip.
do not pry the battery, but instead, use a twisting motion of the
larger screwdriver to force the battery in the direction shown by
the arrows. the smaller screwdriver should only lift enough to
help the battery over the lip. by using the twisting motion of the
larger screwdriver to force the battery out, you don't slip and jab
anything. do not try to lift the clip away from the battery, and
do not try to pry the battery out. only lift under the battery
enough to lessen the tension and allow you to maneuver the bat-
tery up over the lip.
5. once you have cleared the lip, set the screwdrivers down and
use your fingertips to finish the removal. the battery is not dif-
ficult to slide out once you have overcome the carrier lip. as
shown by the arrows in the two photographs, you will need to
maneuver the battery off to the display side to clear some of the
circuit board's components. Keep the battery relatively flat while
sliding it out. do not lift it out, as doing so would bend the clip!
make sure that your new battery is a fResh Renata cR1632 - 3
volt lithium or equivalent (our part # e0310). it is a good idea to
lightly burnish the contact surfaces with a very fine emery paper.
install the battery
2. Plug all your internal cables back onto their pins taking care to
orient the plugs exactly as they were before. make sure you
have all the little white spacers in place on the case's screws.
then, carefully close the keypad back up and reload your data-
base. You are now ready to go!
(at astro-Physics, we generally do
remove all the cables during a bat-
tery replacement in order to clean and
de-oxidize the plug contact surfaces.)
note that the cable will plug into the
pins with shifted away from the battery
with 2 pins left exposed (extra pins).
See photo at left
the battery is held in its carrier by a
spring clip that also serves as the posi-
tive terminal lead. it is very important
1. to replace the battery, start by ensuring that the positive side is up. again, you
will need to approach the carrier a bit offset to the display side. carefully tip the
battery in under the carrier's retaining clip as shown in the drawing above. gently
push the battery into place and make sure that it is fully seated into the carrier. the
clip should hold the battery
firmly in place. if the battery
feels loose, you have prob-
ably bent the clip out too far
when removing the battery.
10
Lg.
Screwdrivers
Lip
Sm.
