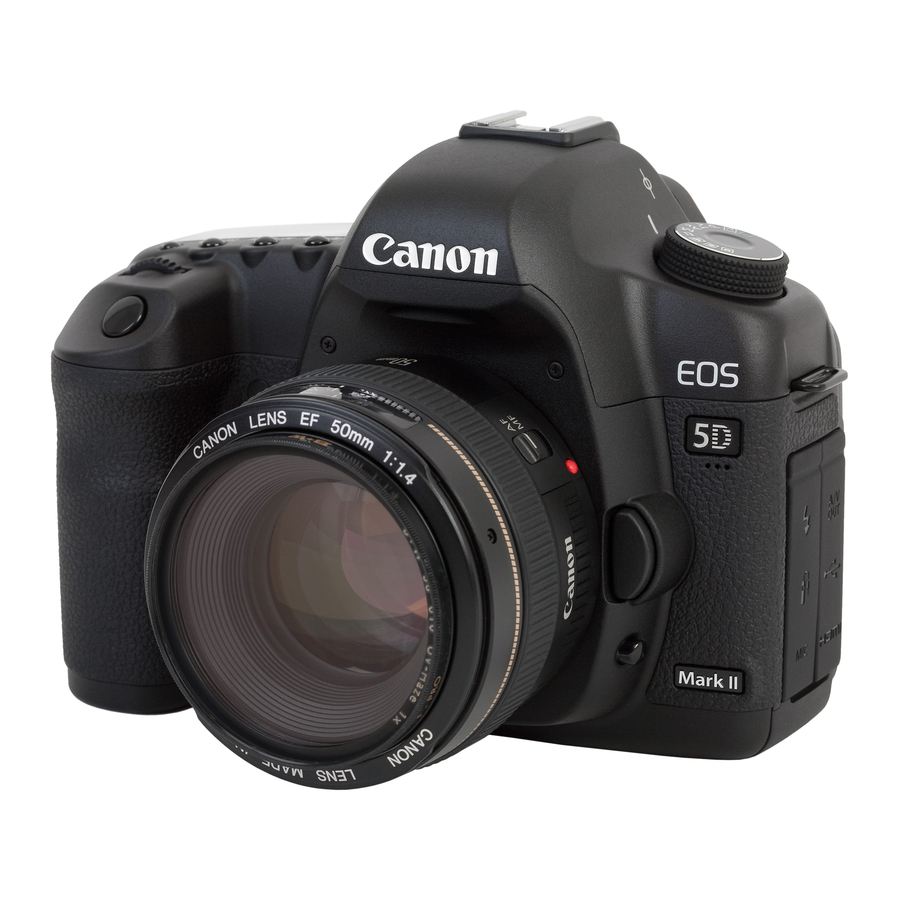
Shooting Operation
LCD Panel
Nomenclature
<o> AF mode selection/
Shutter speed
Drive mode selection button
Image-recording quality
<m> ISO speed
<n> Metering mode selection/
setting/Flash exposure
White balance selection button
compensation button
White balance
Exposure level
indicator
<6> Main Dial
Mode Dial
Battery check
Shutter
button
OK
NG
Viewfinder Information
Focus mode switch
<p> AF start button
<A> Live View
shooting button
<A> AE lock button
AF points
<S> AF point
selection button
<9>
AE lock
Multi-controller
Battery check
<0> Setting/
<5> Quick
Movie shooting
Control Dial
Flash-ready
button
Flash exposure compensation
Shutter speed
Power/Quick Control Dial
switch
Access lamp
Aperture
s: Shutter-priority AE
Fully-Automatic Modes (1/C)
Flash exposure compensation
Aperture
All the settings necessary for
Shots remaining
shooting are set automatically. You
just press the shutter button, and
the camera does the rest.
AF mode
Fully-automatic modes
Drive mode
1 Full Auto
AEB
f: Aperture-priority AE
C Creative Auto
Monochrome shooting
ISO speed
(Displayed only when <
C
> is set.)
Metering mode
Press <9> straight down, then tilt <9> to select the
function.
Turn the <6> or <5> dial to set the function.
Spot metering
d/s/f/a Modes
a: Manual Exposure
circle
You can change the camera settings
as desired to shoot in various ways.
J
* Set the power switch to <
>.
Focus
confirmation
light
d: Program AE
Max. burst
Set the Mode Dial to <d>.
Monochrome shooting
As with the <1> mode, when focus is achieved, the shutter
ISO speed
speed and aperture will be automatically set.
Exposure level indicator
f: AF ModeN
Set the Mode Dial to <s>.
Set the lens focus mode switch to
Turn the <6> dial to set the desired
<f>.
shutter speed, then focus the subject.
Press the <o> button,
The aperture will be set automatically.
6
then turn the <
> dial.
If the aperture display blinks, turn the
<6> dial until it stops blinking.
X
(One-Shot AF):
For still subjects
9
(AI Focus AF):
Switches the AF mode automatically
Set the Mode Dial to <f>.
Z
(AI Servo AF):
Turn the <6> dial to set the desired
For moving subjects
aperture, then focus the subject.
S AF PointN
The shutter speed will be set
automatically.
Press the <S> button, then look
If the shutter speed display blinks, turn
through the viewfinder.
the <6> dial until it stops blinking.
The AF point selection will change
Set the Mode Dial to <a>.
in the direction you tilt the <9>.
Turn the <6> dial to set the
If you keep tilting it in the same
direction, it will toggle between
desired shutter speed.
manual and automatic AF point
Turn the <5> dial to set the
selection.
desired aperture.
When all AF points light up, automatic
Press the shutter button halfway
AF point selection will be set.
and check the exposure level
When you turn the <6> or
indicator.
<5> dial, the AF point selection
will change in the respective
direction.
A Live View Shooting
i: ISO SpeedN
Press the <m> button, then
Preparation
Fully-Automatic Modes (1/C)
turn the <6> dial.
Select [6 Live View/Movie func.
ISO 100 to 6400 can be set in
set.] and set [Movie recording:
1/3-stop increments.
Enable].
When "A" is selected, the ISO
d/s/f/a/F Modes
speed is set automatically. When
Select [6 Live View/Movie func.
you press the shutter button
set.] and set [LV func. setting].
halfway, the ISO speed setting
To shoot still photos, 1. Select
will be displayed.
[Stills only] and 2. Set [Stills
display/Exposure simulation].
To shoot a movie, 1. Select
i
Drive ModeN
[Stills+Movie] and 2. Set [Movie
display].
Press the <
o
> button, then
turn the <
5
> dial.
u: Single shooting
Press the <A> button to display
Shooting stills/movies
the Live View image.
i: Continuous shooting
Press the <p> button to
Q: 10-sec. self-timer/
focus the subject.
Remote control*
Press the shutter button to take a
k: 2-sec. self-timer/
still photo.
Remote control
If [Movie recording: Enable] or
[Stills+movie] is set, press <0>
* This drive mode <Q> can be set
For stills
For movies
to start shooting a movie. To stop
in all shooting modes.
shooting the movie, press <0>
again.
While shooting a movie, you can
also take a still photo by pressing
the shutter button.
Custom Functions
C.Fn I: Exposure
2 Lens AF stop button
function
1 Exposure level
increments
3 AF point selection
method
2 ISO speed setting
increments
4 Superimposed display
3 ISO expansion
5 AF-assist beam firing
4 Bracketing auto cancel
6 Mirror lockup
5 Bracketing sequence
7 AF point area expansion
6 Safety shift
8 AF Microadjustment
7 Flash sync. speed in Av
C.Fn IV: Operation/Others
mode
1 Shutter button/AF-ON
C.Fn II: Image
button
1
Long exposure noise
2 AF-ON/AE lock button
reduction
switch
2 High ISO speed noise
3 Assign SET button
reduction
4 Dial direction during
3 Highlight tone priority
Tv/Av
4 Auto Lighting Optimizer
5 Focusing screen
6 Add original decision
C.Fn III: Autofocus/Drive
data
1 Lens drive when AF
impossible

