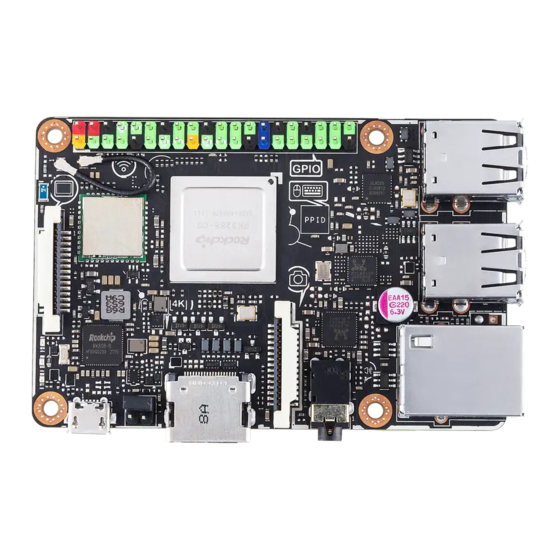
Asus Tinker Boars S Panduan Pengguna - Halaman 10
Jelajahi secara online atau unduh pdf Panduan Pengguna untuk Motherboard Asus Tinker Boars S. Asus Tinker Boars S 12 halaman.

- 1. Table of Contents
- 1. 1 Basic Requirements
- 2. 2 Getting Started
- 2. Setting up Using Emmc (Tinker Board S Only)
- 2. Setting up Using a Microsd Card
- 3. 3 Writing the os Image
- 3. Using Etcher (Cross-Platform)
- 3. Using DD Command (Linux)
- 4. 4 OS Write Recovery (Tinker Board S Only)
- 4. Rewriting the os Using UMS from Emmc
- 4. Rewriting the os Using UMS from a Microsd Card
4.
OS Write Recovery
(Tinker Board S only)
4.1
Rewriting the OS using UMS from eMMC
You can recover using the UMS from eMMC if your eMMC's U-Boot is still working
properly and has a built-in UMS function. Please follow the steps below to re-write the
OS using UMS mode:
•
Ensure the eMMC has a working U-Boot.
•
Please remove all other connected extension devices from your Tinker Board S.
1.
Connect your Tinker Board S to a PC via a micro USB cable, it should boot and
create partitions like any other USB drive.
2.
Write the downloaded OS image to the Tinker Board S using a third-party ISO
software, such as Etcher or Win32DiskImager. You may refer to the Writing the
OS image section of this manual for more information on writing the OS image.
4.2
Rewriting the OS using UMS from a microSD card
When there is a problem booting from the eMMC's U-Boot, or if you are using a third-
party custom OS image which does not have a built-in UMS function, you may follow the
steps below to trigger the UMS mode from a microSD card:
1.
Download a Tinker Board supported operating system image such as the Official
ASUS Tinker OS, or an Android OS.
2.
Insert a microSD card to a card reader connected to your PC.
3.
Write the OS image (with built-in UMS U-Boot) to the microSD card using a third-
party ISO software, such as Etcher or Win32DiskImager. You may refer to the
Writing the OS image section of this manual for more information on writing the
OS image.
4.
Remove the microSD card from the card reader and insert it into your Tinker
Board S.
Please refer to your Tinker Board product manual for the location of the microSD slot.
10
