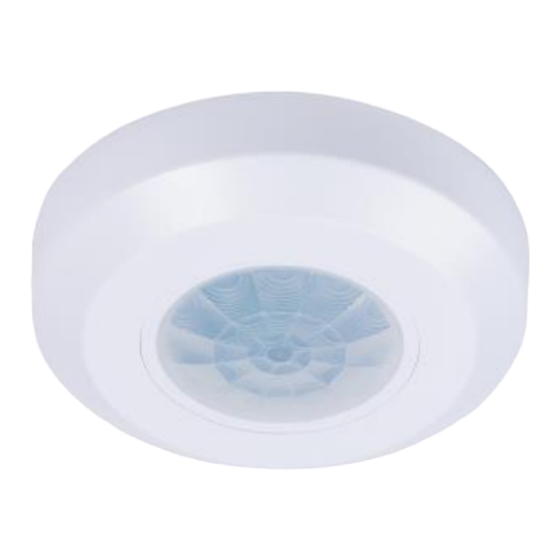
Advance acoustic PIR3 Petunjuk - Halaman 2
Jelajahi secara online atau unduh pdf Petunjuk untuk Aksesori Advance acoustic PIR3. Advance acoustic PIR3 2 halaman.

CONNECTION:
⚫
Must be installed by a competent person.
⚫
Disconnect power source.
⚫
Cover or shied any adjacent live components.
⚫
Ensure device cannot be switched on.
⚫
Check power supply is disconnected.
➢
Twist the cover in an anti-clockwise direction to remove.
➢
Connect the power and the load according to the wiring
diagram.
➢
Fix the sensor to the surface as required.
➢
Twist and lock the cover back into position, turn on the power
and check the sensor functionality.
WIRING DIAGRAM (See the below image)
SENSOR INFORMATION:
Height of installation:2.2-4m
Detection Distance: Max.8m
TEST:
➢
Turn the TIME knob anti-clockwise to the minimum (-).
Turn the LUX knob clockwise to the maximum (sun).
➢
Switch on the power; the sensor and its connected
lamp will have no signal at the beginning. After a 30sec
warm-up period, the sensor will be operational. If the
sensor detects movement, the load will turn on. When
no further movement is detected, the load should switch off within 10sec±3sec.
➢
Turn LUX knob anti-clockwise to the minimum (3). If the ambient light is more than 3LUX, the
sensor will switch the load off. If the ambient light is less than 3LUX (darkness), the sensor will
switch on the load. With no occupancy detected, the sensor will stop working within 10sec±
3sec.
Note: when testing in daylight, please turn LUX knob to
sensor may not work!
TROUBLESHOOTING:
➢
The load does not work:
a. Please check if the connection of power source and load is correct.
b. Please check if the load is operational
c. Please check the light level setting.
➢
The sensitivity is poor:
a. Please check if the sensor is obstructed from detecting movement.
b. Please check if the ambient temperature is too high.
c. Please check if the movement is in the detection field.
d. Please check if the installation height corresponds to the height required in the
instruction.
➢
The sensor does not turn off the load automatically:
a. Please check if there is continual movement in the detection field.
b. Please check if the time delay is set to the maximum duration
c. Please check if the wiring corresponds to the instruction.
(SUN) position, otherwise the
