Advance Appliances EG6 Instalasi dan Panduan Pengguna - Halaman 6
Jelajahi secara online atau unduh pdf Instalasi dan Panduan Pengguna untuk Ketel uap Advance Appliances EG6. Advance Appliances EG6 12 halaman. Electric boiler 6, 9 & 12kw

ELECTRICAL CONNECTIONS continued
Check after installation
•
Polarity
•
Short circuit
•
Earth continuity
•
Resistance to earth
•
Visual check for stray wiring strands etc
•
Mechanical check for integrity of connections
Do not switch on until the unit is full of water and air has been purged from the system.
IMPORTANT
The switching in the boiler is zero voltage and cannot be used for mains switching e.g. three
port valves.
We recommend hot water is provided by an independent electric/solar cylinder for
optimum efficiency.
COMMISSIONING
Fill the system by opening isolating valves to the feed and expansion tank or to the filling
loop of a sealed system. Charge sealed systems from 0.75 bar to 1 bar.
When the system is full, and has been thoroughly checked for leaks it should be flushed
out to remove any debris.
Refill, add system cleanser and switch on the boiler.
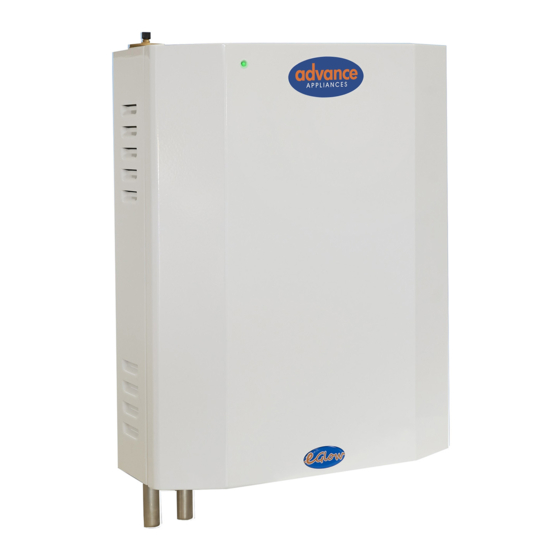
The boiler controls are fully automatic. The LED will turn green showing that the boiler is
powered up and awaiting demand. When heating demand is on (set the programmer and
room thermostat to call for demand) the pump will be energised for 5 seconds in order
for the flow switch to sense flow in the boiler. If it does not sense flow the boiler will switch
off, the LED will show red (continuously) indicating that the circuit contains air (no flow).
Check that all air is purged and try again. The boiler can be switched back on again by
turning the programmer/room thermostat off and on. It is usual for this process to take a
little time in all heating circuits.
TIP:
Run the boiler with pods disconnected until air is purged. You may need to increase the
pump speed to do this.
NEVER link the flow switch out – it is dangerous and will damage the heater pods. This
action will void guarantees.
Allow the boiler to run for 30 minutes to ensure that it is operating correctly and flush
again.
Refill the system adding inhibitor following manufacturer's instructions and switch on.
6
