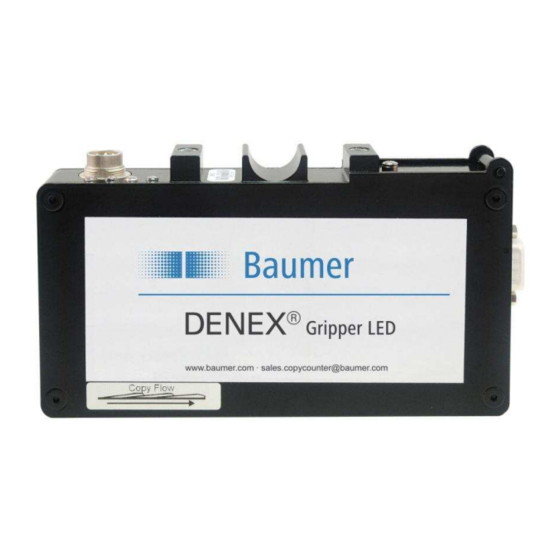
Baumer DENEX Gripper LED Panduan Pengguna - Halaman 5
Jelajahi secara online atau unduh pdf Panduan Pengguna untuk Aksesori Baumer DENEX Gripper LED. Baumer DENEX Gripper LED 24 halaman.

4
INSTALLATION
In order to assure the best possible operating conditions, it is essential that the following
instructions are followed exactly.
4.1
General Precautions
The DENEX Gripper LED should be installed in an environment where:
1. The equipment ambient temperature does not exceed 40º C.
2. The equipment atmosphere is free from highly flammable or combustible vapors,
corrosive chemical flumes, oil vapor, steam, excessive moisture and particles.
Avoid mounting the unit in places with strong vibrations since they can produce miscounts,
especially when thin products are counted. Make sure that the mounting bracket is rigid to
withstand vibrations.
4.2
Mechanical Installation
The sensor should be installed parallel to the conveyor and at a distance of 40 mm from
the copy edge, see figure 4.2.1. It is most important that the sensor is mounted the right
way. It can only count in one direction. "The connector side of the sensor should meet the
edge first".
As a "Target", mount a white surface at 120 to 150 mm below the sensor, and parallel to
the bottom of the sensor. Check that the LED 4 indicates Target Status OK, see chapter 6,
"SOFTWARE FUNCTIONS". Failure to comply will make the counter less accurate.
Mount the DENEX Gripper LED as close as possible to the Grippers without risking being
in contact with the Grippers. A 5 mm safety distance is recommended.
There must be at least 5 mm of air between the edge that the sensor should detect, and
the previous product.
If the sensor is to be used together with a Gripper pulse, it must be possible to move the
sensor sideways for the length of one Gripper, see figure 4.2.2. See further chapter 6.3,
"Gripper Pulse Mode".
User Manual DENEX Gripper LED
Version 2013-02, V1.4
5/24
www.baumer.com
Baumer Electric AG
Frauenfeld, Switzerland
