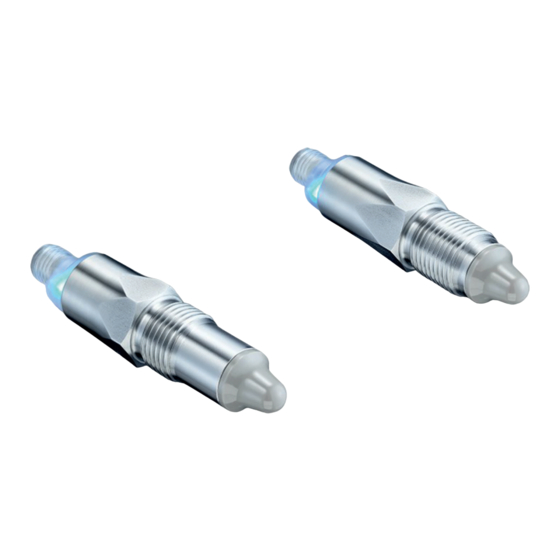
Baumer CleverLevel LBFH/I Panduan Petunjuk Pengoperasian - Halaman 11
Jelajahi secara online atau unduh pdf Panduan Petunjuk Pengoperasian untuk Alat Ukur Baumer CleverLevel LBFH/I. Baumer CleverLevel LBFH/I 48 halaman. Point level detection – hygienic/industrial level measurement
Configuration via qTeach (Adaptive version)
Via qTeach, the different trigger types can be set
for SW1 and SW2. The switch logic is normally
open (NO) for both SW1 and SW2.
For a graphical overview of the configuration
procedure, refer to "14.4 qTeach configuration
procedure" on page 15.
Note: Configuration is only possible during the first
5 minutes after connecting the sensor to the power
supply. After that, qTeach is locked.
Step 1: Selecting the switch
9 Sensor is powered up.
Hold a screwdriver or other metal object on the
f
qTeach detector.
The LED rapidly blinks magenta. The LED
alternates between yellow, cyan and orange in
3 second intervals.
When the LED has the color assigned to the
f
desired switch, remove the screwdriver from the
qTeach area:
Yellow: SW1
Cyan: SW2
Orange: Factory setting
The LED slowly blinks in the selected color.
Step 2: Selecting the trigger type
For the switch selected in step 1, select the
f
trigger type by holding the screwdriver on the
qTeach area again. When the desired trigger type
appears, remove the screwdriver:
White: Window trigger
Green: Adaptive trigger
If the LED flashes red, an error has occured and the
changes are not saved.
To restart the configuration, disconnect and
f
reconnect the sensor to the power supply.
Configuration via qTeach is enabled in the factory
settings and can be disabled by the user.
www.baumer.com
Level measurement
CleverLevel
Point level detection – hygienic/industrial
Configuring with FlexProgrammer and PC
Switch points and damping of both switch outputs
can be set as desired with FlexProgrammer.
Connect FlexProgrammer to sensor.
f
Connect FlexProgrammer to PC and set
f
parameters (see FlexProgrammer instructions).
Configuring with IO-Link Master
Switch points, hysteresis, damping, output mode,
etc. can be configured via IO-Link with an IO-Link
Master.
Connect IO-Link Master to sensor
f
Connect IO-Link to PC and set parameters.
f
A detailed description of the parameter and
process data for the IODD can be found on www.
baumer.com in the products separate download
area.
Configuring via remote teach
Sensors that are built into places hard to access
can be configured via remote teach easily and
without any other help. The switch points SW1
and SW2 can be configured independently. Switch
output SW1 is NO (normally opened) and switch
output SW2 is NC (normally closed).
9 The remote teach function has been activated
with FlexProgrammer before the integration of
the sensor (see FlexProgrammer instructions).
Short-circuit switch output SW1 for more than
f
1 second with GND (0 V).
The LED flashes magenta.
Continue as described in the qTeach procedure.
f
Operating Instructions
LBFH/I
®
11 / 48