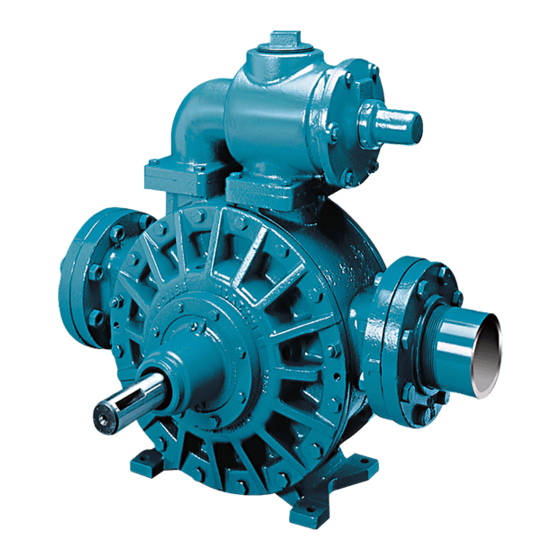
Dover PSG BLACKMER MLN4B Petunjuk Pemasangan, Pengoperasian, dan Pemeliharaan - Halaman 16
Jelajahi secara online atau unduh pdf Petunjuk Pemasangan, Pengoperasian, dan Pemeliharaan untuk Pompa Air Dover PSG BLACKMER MLN4B. Dover PSG BLACKMER MLN4B 20 halaman. Power pumps

following the appropriate procedures and warnings as presented in this manual.
LEAKAGE
Location
Between the head & casing
MLX Models - From the tell-tale hole in the hub, or where
the hub meets the head.
MLN Models - From the seal housing or around the shaft. Damaged Mechanical Seal: See Above.
MLN Models - From the stuffing box in the hub.
ESCAPING GREASE
Location
MLX Models - Around the pump shaft.
SHAFT BINDING
Probable Cause
Burrs, dirt or foreign particles on the heads or discs.
MLX Models - Improper locknut adjustment.
MLN Models - Excessively tight packing.
MLX & MLN Models - Contaminated mechanical seal
faces.
MLX & MLN Models - Mechanical seal drive tangs not
engaged.
OTHER POSSIBLE CAUSES OF SHAFT BINDING:
• Foreign particles on rotor, liner or vanes.
• Damaged vanes or rotor.
OVERHEATING
Location
Pump equipped with internal relief valve.
MLN Models - Stuffing box of hub.
OTHER POSSIBLE CAUSES OF OVERHEATING:
• Improper relief valve adjustment
(See "Relief Valve" on Page 6).
TROUBLESHOOTING
Maintenance shall be performed by qualified technicians only,
106-A00
NOTICE:
Probable Cause/Corrective Action
Damaged head O-ring: Inspect and replace if necessary.
Burrs/dirt in head O-ring groove or casing: File and clean when
necessary.
New Mechanical Seals: New seals may leak slightly at start up, but
should seal up shortly thereafter.
Damaged mechanical seals: Check for damaged O-rings or cracked,
scratched or worn seal faces
Damaged hub O-rings: Inspect and replace if necessary.
Damaged shaft surface: Check the surface of the shaft in the seal area
for damage. File any small burrs or ridges. If damage is severe, replace
rotor & shaft.
Packing: Adjust the packing. If this does not solve the problem, replace
the packing with a complete new set.
NOTE: On pumps equipped with packing, some leakage is necessary,
and in some cases is desirable, depending on the application.
Probable Cause/Corrective Action
Damaged grease seal: Remove the bearing cover and inspect the
grease seal for damage. Replace if necessary.
Corrective Action
During assembly, both heads and discs must be clean and smooth. File
any burrs or rough spots, and wipe the discs with a clean cloth and
alcohol to remove any dirt or foreign particles.
Locknuts must be adjusted properly to center the rotor and shaft
between the heads. Refer to "Locknut Installation" on Page 10.
Refer to "Packing Adjustment" on Page 15.
Any trace of grease or dirt on the seal faces will prevent the faces from
mating properly, causing the rotor and shaft to bind or turn hard. Use a
tissue paper & alcohol to clean the seal faces. NOTE: Apply a light oil
or suitable lubricant to bronze seal faces only.
The driving tangs of the seal jacket must be engaged in the slots in the
rotor (MLX Models), or in the keyways of the shaft threads (MLN
Models).
• Bent push rods.
• Liquids that "set up" when inactive.
Probable Cause/Corrective Action
Continual, full bypassing of the liquid: The relief valve must be
adjusted such that the pump will not bypass during normal operation.
WARNING: Internal bypassing of liquid elevates the liquid
temperature. Use the internal bypass valve for brief periods only
and at differential pressures below 125 psi (8.6 bar). For extended
periods of higher pressures, the internal bypass port must be
plugged and the liquid returned back to the source.
Packing: NEVER tighten packing without checking afterward for
overheating. If packing is old or worn, it will overheat – replace with a
new packing set.
• Plugged discharge line.
• Closed valve.
Page 16/20
