Foldcraft Plymold Contour Wall Style Adjustable Panduan Instalasi - Halaman 8
Jelajahi secara online atau unduh pdf Panduan Instalasi untuk Perabotan Luar Ruangan Foldcraft Plymold Contour Wall Style Adjustable. Foldcraft Plymold Contour Wall Style Adjustable 9 halaman.
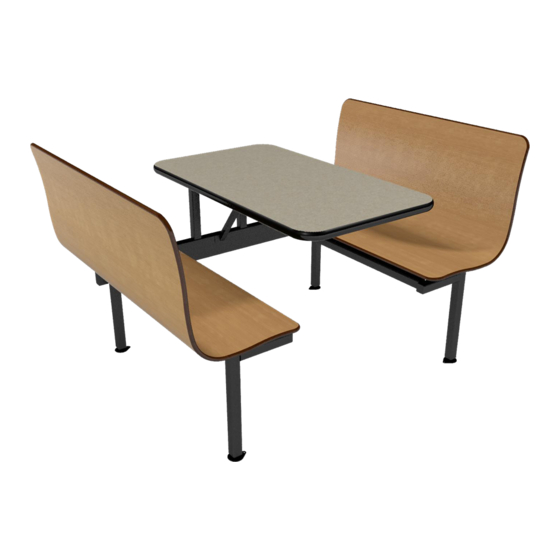
Contour
Assembly
Step 5: Installing Ver cal Table Leg
a. Assemble a plas c thread‐in glide into insert if not already done.
b. Posi on table per drawings above.
c. Secure the table top using (6) #10 x 1.0" screws.
Note: Ver cal Table leg required on tops longer than 48" and ADA tops.
Step 6: Posi on and Level Booth
a. Confirm loca on of booth/frames with the floor plan.
b. Level booth by adjus ng glides.
Step 7: Fasten Glides to Floor
a. Rotate glides to point the moun ng hole towards the center of the
booth.
b. With a pencil, mark the hole loca on on the floor using the holes in
the glide.
c. Turn the glide away 90 degrees from its current posi on to expose the
mark on the floor.
d. Using a hammer drill and a 1/4" masonry bit, drill a 1 1/4" deep hole
on the pencil mark.
e. Place a plas c anchor in the hole and then rotate glide back so the hole lines up with the plas c an‐
chor in the floor.
f. Insert a #10 x 1.0" screw through the hole in the glide and secure into the plas c
anchor.
Note: Frames must be anchored to the floor to maintain stability and prevent
personal injury.
Page 8 of 9