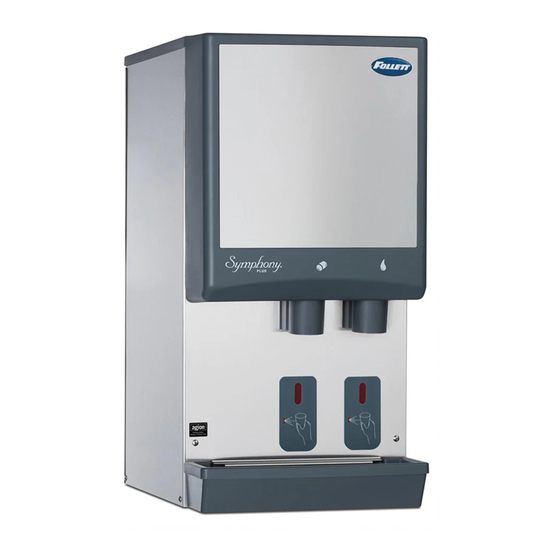
Follett 50HI425A Panduan Instalasi - Halaman 12
Jelajahi secara online atau unduh pdf Panduan Instalasi untuk Pembuat Es Follett 50HI425A. Follett 50HI425A 17 halaman. Ice and water dispensers

9. When machine is finished cleaning, the MAINTENANCE light will turn off.
Finish cleaning – SafeCLEAN Plus only
10. Reinstall dispense chutes, wheel, baffle, stud assembly and knurled nuts.
11. Remove top bearing insulation. Loosen Phillips-head screw on nozzle connected to evaporator. Remove
nozzle from evaporator side only, leave other side of nozzle connected to transport tube.
12. Soak one SaniSponge in remaining SafeCLEAN Plus solution.
13. Insert the sponge soaked in cleaning solution into nozzle, then insert a dry sponge into the nozzle.
14. Replace nozzle onto evaporator and tighten screw. Ensure drain is connected to reservoir and vent tubes
are connected to evaporator drain pan. Replace top bearing insulation.
15. Turn ON bin signal switch. Wait for ice to push sponges through transport tube.
16. Collect sponges from ice storage bin.
17. Replace hopper lid, machine top, turn ON dispenser power and install front cover.
18. After 10 minutes, dispense all ice and discard.
[OPTIONAL] Finish cleaning – No-rinse sanitizing with Nu-Calgon IMS-III
10. Press CLEAN switch. The MAINTENANCE light will turn on and the machine will drain. Wait for the LOW
WATER light to turn on.
11. Remove lid from cleaning cup and fill (about 1 quart) until sanitizing solution completely fills the reservoir.
Place lid back on cup. Save remainder of sanitizing solution.
12. CLEANER FULL light will turn on and machine will start cleaning cycle then rinse three times; this
process takes approximately 15 minutes.
13. While ice machine is sanitizing, clean dispenser as follows:
a. Wipe inside of hopper lid, stud assembly, baffle, wheel, inside of storage area, dispense chutes, drain grille
and drain pan with damp cloth wrung out in sanitizing solution. Do not rinse off the sanitizing solution.
Note: To avoid possible damage to motor assembly, only use a damp cloth to clean storage hopper. Do not
allow water to run through motor shaft hole in bottom of hopper.
14. Reinstall dispense chutes, wheel, baffle, stud assembly and knurled nuts.
15. When machine is finished rinsing, the MAINTENANCE light will turn off.
16. Remove top bearing insulation. Loosen Phillips-head screw on nozzle connected to evaporator. Remove
nozzle from evaporator side only, leave other side of nozzle connected to transport tube.
17. Soak one SaniSponge in remaining sanitizing solution.
18. Insert the sponge soaked in sanitizing solution into nozzle then insert a dry sponge into the nozzle.
19. Replace nozzle onto evaporator and tighten screw. Ensure drain is connected to reservoir and vent tubes
are connected to evaporator drain pan. Replace top bearing insulation.
20. Turn ON bin signal switch. Wait for ice to push sponges through transport tube.
21. Collect sponges from ice storage bin.
22. Replace hopper lid, machine top, and install front cover.
23. After 10 minutes, dispense all ice and discard.
User Interface and Exterior Cabinet
§ Clean stainless steel panels with stainless steel cleaner.
12
25CI425A/W, 25HI425A, 50CI425A/W, 50HI425A
